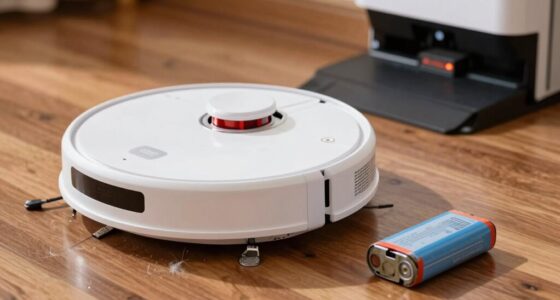

The O-ring in your bagless vacuum cleaner’s dust bin is essential for preventing dust leaks. If it’s worn or improperly installed, even tiny gaps can let fine particles escape. Regular use can cause abrasion, and environmental factors may lead to degradation. Mechanical damage or installation errors also affect its performance. Keeping an eye on this small but critical component can make a big difference. Discover how to maintain it effectively and prolong its lifespan for efficiency.
Key Takeaways
- O-rings are critical for sealing bagless bin interfaces, preventing dust and particulates from escaping during operation.
- Seal failure can occur due to abrasion, material degradation, or installation errors, leading to dust leaks.
- Micro-gaps created by faulty O-rings allow high-velocity airflow, worsening dust emissions and system efficiency.
- Regular maintenance, including timely O-ring replacements and inspections, helps prevent leaks and ensures effective dust containment.
- Leak detection methods such as visual checks and pressure monitoring can identify potential O-ring failures before they escalate.
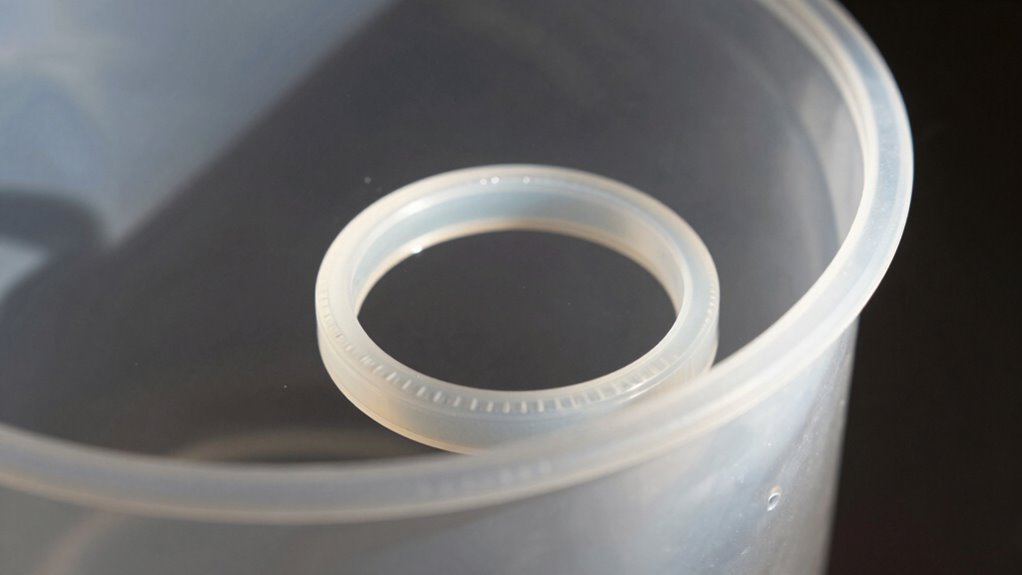
How do bagless bin seals maintain effective dust containment? The answer lies in the essential role of O-rings. These small, circular seals compress at the interface between the bin lid and inlet, blocking airflow paths around the dust chamber. However, they can fail in various ways. Abrasion or flattening from regular use reduces their compression, creating micro-gaps that allow dust to leak out. Material degradation is another concern; O-rings made from silicone or EPDM can harden or crack over time due to heat, chemicals, or UV exposure, which lowers their effectiveness. Proper maintenance is crucial for the longevity of these seals.
Installation errors also play a significant role in seal failure. If you misalign or twist an O-ring during installation, it won’t seat properly, leading to localized leaks. Even a seemingly minor gap can result in significant dust leakage. Mechanical damage is another factor; nicks, cuts, or pinches introduced during maintenance can create leak points that are disproportionately large compared to the defect’s size.
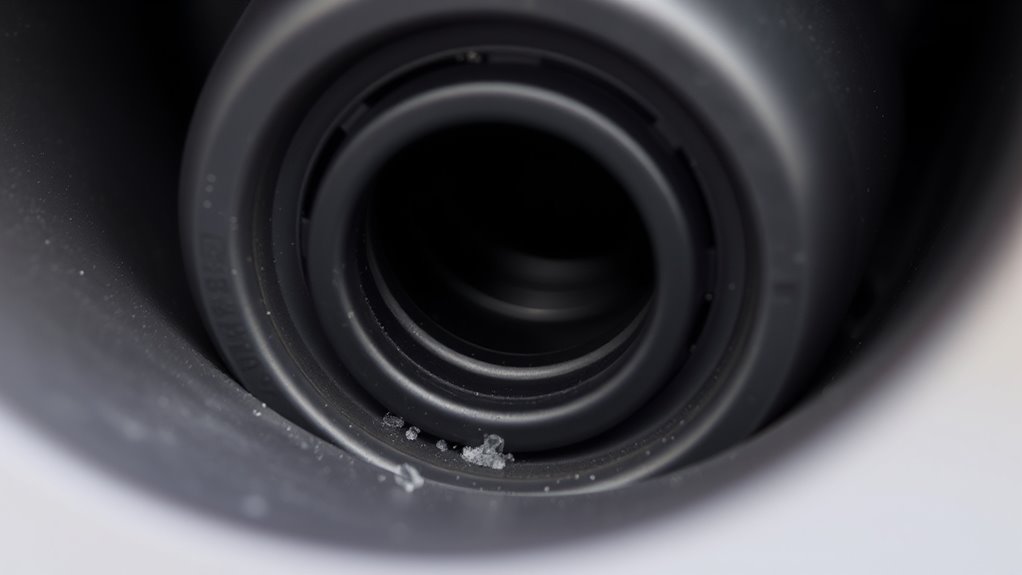
The mechanisms behind these leaks can be quite intricate. Even tiny circumferential gaps allow high-velocity airflow to bypass the filter, carrying fine particulates into the clean plenum. When suction increases, the pressure differential pushes more particles through imperfect seals, worsening emissions during peak operation. In systems with pulsing or cyclic pressure variations, O-rings may unseat momentarily, causing intermittent spikes in leakage. Vibration from the system can further loosen clamps and seating, turning marginal seals into persistent leak paths. Submicron and respirable dust can easily follow airflow through micro-gaps that you might miss during a visual inspection.
To detect these leaks, you can perform a visual inspection for dust accumulation at seam interfaces or streaking outside the bin. Using smoke pens or negative-pressure soap tests can help pinpoint micro-leaks around O-rings. Monitoring pressure changes across the dust bin or filters can also indicate seal degradation. Listen for hissing sounds during operation, as they often signal escaping air around seals. Immediate response is crucial when leaks are detected, ensuring that personnel safety is prioritized and the system is assessed for further risks.
Proper maintenance is essential for effective sealing. Make it a point to replace O-rings at the manufacturer-recommended intervals or when you notice hardening or cracking. Always use materials suited to your environment, and follow proper seating procedures to guarantee a good fit. Keep spare O-rings on hand for quick replacements, helping you maintain ideal dust containment and performance. Regularly inspecting your equipment can also help identify wear and tear before it leads to failure.
Top picks for "bagles seal tiny"
Open Amazon search results for this keyword.
As an affiliate, we earn on qualifying purchases.
Frequently Asked Questions
How Often Should O-Rings Be Inspected for Wear?
You should examine O-rings for wear every few months, or more frequently if you notice any signs of damage. Regular checks help catch cuts, nicks, and swelling early on, preventing leaks from occurring. If your equipment operates in harsh conditions, consider inspecting them monthly. Always keep an eye out for proper seating and ensure they’re not twisted or pinched in their grooves. Maintaining O-rings can save you from costly repairs down the line.
What Materials Are Best for O-Ring Durability?
When you think of an O-ring, imagine a resilient shield, keeping dust at bay. For durability, materials like Viton and silicone shine brightly. Viton withstands heat and harsh chemicals, while silicone remains flexible across temperature extremes. Both materials resist wear, ensuring a tight seal that whispers reliability. Avoid rubber in demanding environments, as it can crack and degrade. Choosing the right material means your O-ring will stand strong against the trials of time and pressure.
Can I Replace O-Rings Myself?
Yes, you can replace O-rings yourself. Just make sure you have the right tools and replacement O-rings that match the original specifications. Start by carefully removing the old O-ring, checking for damage on the sealing surfaces. Clean the area, then lubricate the new O-ring lightly before installing it. Confirm it fits snugly in the groove without twists or pinches. With patience, you’ll have your equipment sealed and ready to go!
What Tools Are Needed for O-Ring Installation?
To install O-rings, you’ll need a few essential tools. Grab a set of pliers for pulling and positioning the O-ring, along with a flathead screwdriver to help seat it properly in the groove. A pair of scissors might come in handy for trimming any excess material. Don’t forget some lubricant to guarantee a smooth installation and prevent pinching. Finally, a clean cloth will help you wipe down surfaces before installation.
How Do I Properly Clean O-Rings?
To properly clean O-rings, start with a soft, lint-free cloth to gently wipe away dirt and debris. Avoid harsh chemicals; instead, opt for mild soap and warm water. Rinse thoroughly and dry completely before reinstallation. While some might rush or overlook this step, taking your time guarantees better sealing integrity. Inspect for any cuts or wear during cleaning; a small flaw can lead to significant leaks later on.
Conclusion
In summary, bagless bin seals may seem small, but they play an essential role in keeping dust contained. Just imagine a busy household where a vacuum’s tiny O-ring fails—dust escapes, settling on surfaces and triggering allergies. By prioritizing these seemingly insignificant components, you can guarantee your vacuum works efficiently and your home stays clean. So next time you clean, remember the importance of those tiny seals; they make a big difference in your air quality and overall health.