To clean vacuum attachments, start by detangling hair from rollers and brushes. Rinse removable parts like filters and crevice tools under cool water; use mild dish soap on filters if necessary. Wipe the vacuum’s exterior and bin with a damp cloth for stuck dirt. Let all rinsed parts dry completely for at least 24 hours. Regular maintenance keeps your attachments in top shape, enhancing your vacuum’s performance. There’s more to keeping them clean and efficient!
Key Takeaways
- Vacuum thoroughly before cleaning attachments to remove loose debris and ensure effective deep cleaning.
- Detangle hair from brushes and rollers to improve cleaning performance and prevent buildup.
- Rinse water-safe filters and attachments with cool water; use mild soap only if needed.
- Wipe down the vacuum’s exterior and bin with a damp cloth to remove stuck-on dirt.
- Allow all cleaned parts to air dry completely for 24-48 hours to prevent mold growth.

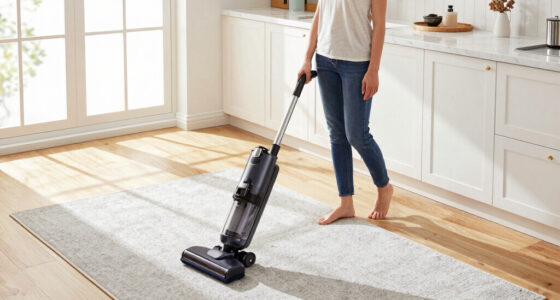
When it comes to keeping your home clean, maintaining your vacuum attachments is essential. These tools accumulate dust, hair, and debris over time, making them less effective and spreading dirt around your home. To keep them in top shape, you should clean your attachments at least once a month. Before you plunge into deep cleaning, vacuum your house thoroughly; this helps remove any loose debris and prepares your attachments for a detailed scrub.
Start by detangling any hair caught in the rollers and brushes. It’s best to check your vacuum manual to see which parts are safe to rinse with water. For Dyson models, you can twist out the top filter and rinse it under cool, lukewarm water without soap. Don’t forget to rinse the soft roller parts as well after removing them. Use a mild dish soap like Dawn for the filters and let them dry completely for 24 to 48 hours. Failure to do so can lead to mold growth, so make sure there’s no moisture left. Proper maintenance is crucial to ensure your vacuum performs at its best.
Detangle hair from rollers, rinse filters with lukewarm water, and ensure they dry completely to prevent mold growth.
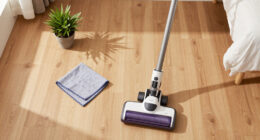
After rinsing, wipe the bin and other exterior parts with a wet cloth or wipes. If you notice any stuck-on dirt, using a multi-purpose cleaner on a rag can help. For the crevice tool, remove any debris from tight spaces after use, and keep it clean by rinsing it if it’s water-safe. Always air dry these parts to avoid moisture buildup.
For dusting brushes, clean the soft bristles after using them on delicate surfaces. Detangle any hair caught in the bristles, and rinse under water if removable. Store them dry to prevent mold growth in the bristle gaps. Upholstery tools need special attention too; wipe them down after cleaning pet hair or upholstery, and use short strokes for better results.
Inspect your attachments regularly for any buildup or tangled hair. This not only keeps them functioning well but also ensures you’re not spreading dirt around your home during use. Using compatible attachments can help improve cleaning results and prevent damage to surfaces. Remember to clean the brushes with a butter knife to remove any stubborn hair. By following these steps and maintaining a cleaning frequency, you’ll keep your vacuum attachments in excellent condition, making your cleaning routine much more effective.

USANOOKS Microfiber Cleaning Cloth Grey - 12 Pcs (12.5"x12.5") - High Performance - 1200 Washes, Ultra Absorbent Microfiber Towel Weave Grime & Liquid for Streak-Free Mirror Shine - Car Washing Cloth
- High Absorbency Microfiber: Locks in 8-10x its weight in liquids
- Durable 2.5mm Thick Design: Resists lint, scratches, and shedding
- Swirl-Free Mirror Shine: Rapid dry layers prevent damage
As an affiliate, we earn on qualifying purchases.
Frequently Asked Questions
Can I Use Bleach to Clean Vacuum Attachments?
No, you shouldn’t use bleach to clean vacuum attachments. Bleach can damage the materials and components, leading to deterioration over time. Instead, opt for mild soap and lukewarm water to effectively clean your attachments. Regular maintenance with gentle cleaning solutions keeps them in good shape without the risk of harm. Always check your vacuum’s manual for specific cleaning recommendations to guarantee you’re taking the best care of your equipment.
How Often Should I Replace Vacuum Attachments?
You should replace vacuum attachments every 6 to 12 months, depending on usage. Just like a worn-out tire can’t grip the road, frayed or clogged attachments can’t effectively clean your home. If you notice a decline in performance, it’s time for a change. Regularly inspect for damage, wear, or buildup. By staying proactive, you make sure your vacuum works efficiently, keeping your space clean and fresh while prolonging the life of your machine.
What Should I Do if an Attachment Breaks?
If an attachment breaks, you should first assess the damage. If it’s minor, try to repair it using super glue or duct tape. For significant breaks, check your vacuum’s warranty; you might get a free replacement. If not, search online for compatible parts or visit a local store. It’s often more cost-effective to replace than to fix, so consider investing in a new attachment for better performance.
Are There Specific Tools for Cleaning Vacuum Attachments?
Yes, there are specific tools for cleaning vacuum attachments. You’ll want to use a soft brush or cloth to remove dust and debris from surfaces. A butter knife can help scrape off tangled hair from brushes. Mild soap mixed with lukewarm water works wonders for deeper cleaning. For stubborn grime, a multi-purpose cleaner can be effective. Always guarantee your tools are dry before reassembling to keep your vacuum in top shape!
Can I Wash Vacuum Attachments in a Dishwasher?
No, you shouldn’t wash vacuum attachments in a dishwasher. The high heat and harsh detergents can damage the plastic and rubber components. Instead, detach the parts and rinse them under lukewarm water. Use mild soap for stubborn grime, and make sure to check your vacuum manual for any specific cleaning instructions. Always air dry your attachments completely before reassembling to prevent moisture buildup and potential mold issues.

Amazon Basics Microfiber Cleaning Cloths, Ultra Absorbent, Lint Free, Streak Free, Non-Abrasive, Reusable and Washable, 16" x 12", Blue/White/Yellow, Pack of 24
- Size: 16 x 12 inches
- Pack Size: 24 cloths
- Material: Microfiber
As an affiliate, we earn on qualifying purchases.
Conclusion
Cleaning your vacuum attachments isn’t just a chore; it’s a necessity for a cleaner home. By regularly maintaining your brushes, hoses, and filters, you’re ensuring better suction, improved air quality, and a longer lifespan for your vacuum. So, don’t overlook this essential step—embrace the routine, enjoy the freshness, and elevate your cleaning game. Remember, a clean vacuum leads to a cleaner space, and a cleaner space makes for a happier you!

10 Pack Microfiber Cleaning Cloths, Large 30" x 16" Absorbent Streak Free Lint Free Washable Reusable Towels for Floor Mop, Kitchen, Car, Windows, Glass, Stainless Steel, Multi-Purpose Rags, Blue
- EXTRA LARGE SIZE: Each microfiber cleaning cloth measures...
- STREAK FREE & LINT FREE: These microfiber cloths leave surfaces...
- PREMIUM MATERIAL & HIGHLY ABSORBENT: Made from high quality microfiber...
As an affiliate, we earn on qualifying purchases.
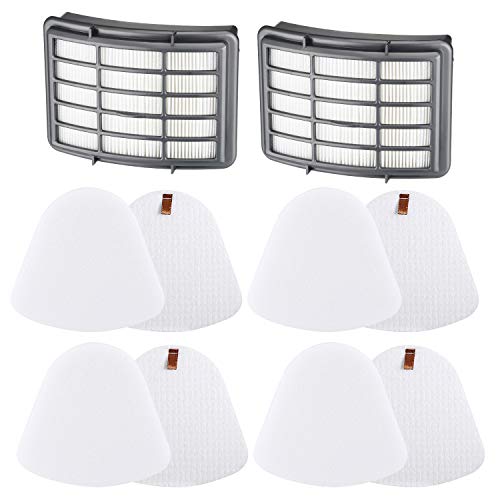
4+2 Pack Filters for Shark Vacuum Navigator Lift Away Filter Replacement Models NV350 NV351 NV352 NV355 NV356E NV360 UV440 UV540 CU500 XFF350 XHF350
- Compatible with Shark Navigator Models: Fits various NV and UV series models
- Valuable Pack Includes: 4 foam, 4 felt, 2 HEPA filters
- High-Efficiency HEPA Filters: Blocks secondary air pollution effectively
As an affiliate, we earn on qualifying purchases.