The crevice-first vacuuming method is favored by pros because it targets tight spaces, vents, and seams first, removing hidden dirt without spreading debris to visible surfaces. Using narrow attachments and gentle brushes, you can reach deep corners, seats, and other tricky areas effectively. This approach guarantees a thorough clean, reduces odors, and improves airflow. If you want to master this technique and maximize your car’s interior cleanliness, there’s more to discover below.
Key Takeaways
- Targets hidden dirt in tight spaces, ensuring a more thorough and effective cleaning.
- Prevents debris from spreading to visible surfaces during vacuuming.
- Enhances stain removal by removing trapped debris before deepening stains.
- Reduces dust buildup and odors, improving interior air quality and vehicle longevity.
- Optimizes cleaning efficiency by focusing on crevices first, reducing the need for re-cleaning.
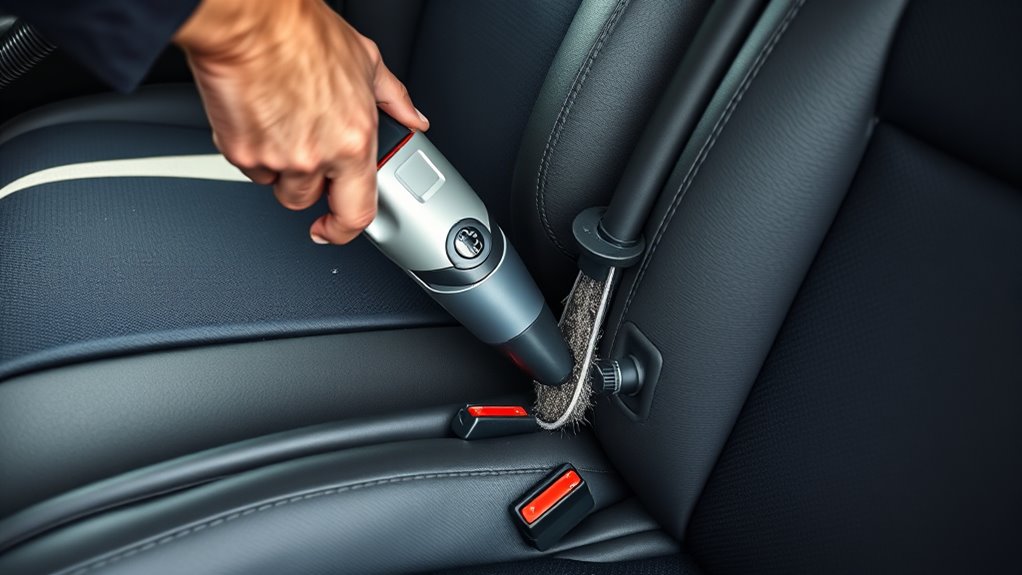
Understanding the Crevice‑First Technique
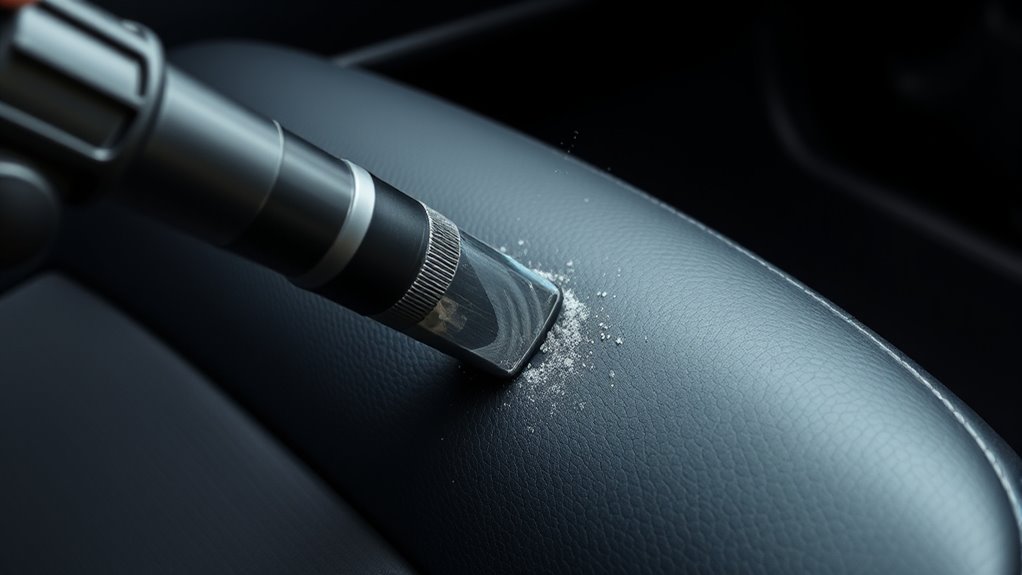
Before you start vacuuming your car, it’s important to understand the crevice-first technique. This method targets tight spaces where dirt, dust, and debris hide, helping you eliminate interior odors and improve overall cleanliness. By focusing on crevices first, you prevent dirt from spreading to more visible areas later, making your cleaning more efficient. Using a narrow nozzle attachment, you can reach between seats, along door panels, and into tight corners. This approach also aids stain removal, as removing trapped debris prevents stains from setting deeper into the fabric or carpeting. Prioritizing these tight spots guarantees a thorough clean, leaving your car smelling fresh and looking spotless. Incorporating Free Floating techniques into your cleaning routine ensures you achieve optimal results efficiently. Mastering the crevice-first technique is essential for professional-level results on every detail, especially when considering off-road vehicle top speed capabilities. Additionally, understanding the importance of color accuracy in your cleaning tools can help you select the right equipment for achieving a spotless finish. Utilizing appropriate tools can also significantly enhance your cleaning effectiveness and protect delicate surfaces.
Benefits of Prioritizing Tight Spaces
Prioritizing tight spaces during vacuuming offers significant benefits that enhance your overall cleaning results. Focusing on areas like crevices and narrow gaps removes hidden dirt, preventing buildup that can trap interior moisture or cause odors. Clean tire treads thoroughly to avoid debris accumulation, which can affect safety and longevity. By tackling these spots first, you ensure a more exhaustive clean, improving airflow and reducing lingering dust. Additionally, paying attention to emotional regulation techniques can further optimize your vacuuming process. Incorporating proper technique during this process ensures thorough removal of debris from all corners and tight spots, leading to a more effective cleaning session.
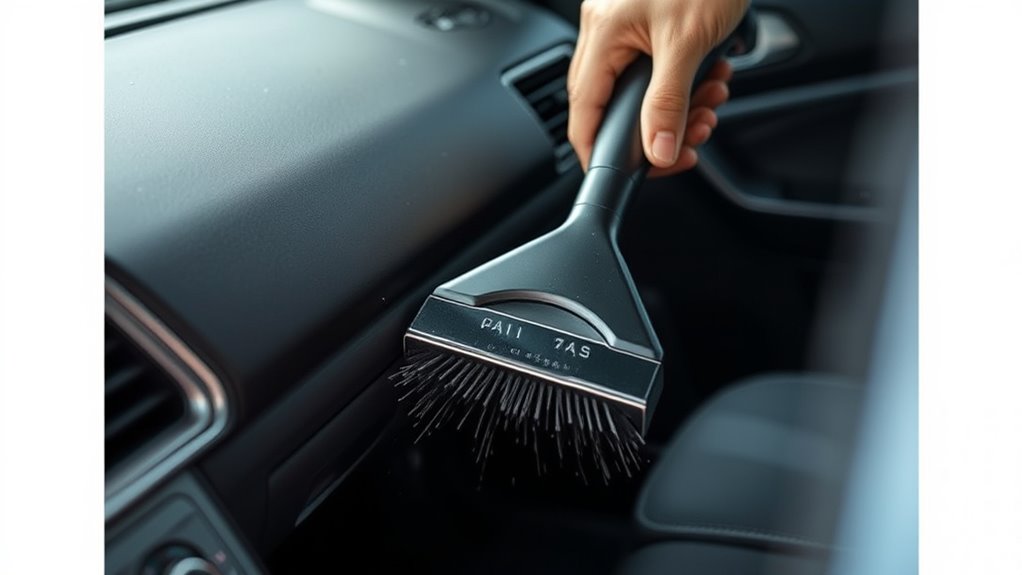
Essential Tools for Crevice‑First Vacuuming
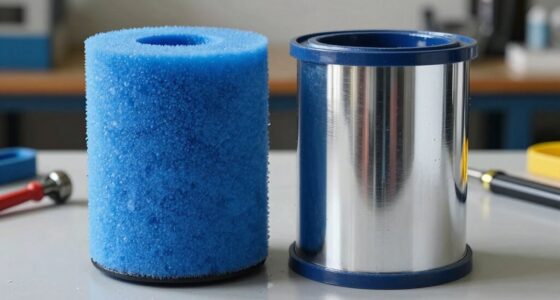
To effectively tackle tight spaces during vacuuming, you need the right tools designed for precision. A crevice tool is essential, allowing you to reach into narrow gaps and remove dirt and debris that cause interior odors. Choose a narrow, angled attachment for maximum accuracy in tight spots. A soft-bristled brush helps dislodge stubborn particles without harming fabric surfaces, aiding in fabric protection. A flexible hose extension makes maneuvering easier, ensuring no area is missed. Using these tools, you can thoroughly clean upholstery, seat seams, and vents, preventing the buildup of odors and grime. Proper tools streamline the crevice-first approach, making your vacuuming more efficient and effective, while preserving the integrity of your car’s interior fabric and ensuring a fresher, cleaner ride. Additionally, utilizing a dedicated filtration system can improve air quality by trapping microscopic particles, further enhancing your interior cleaning results.
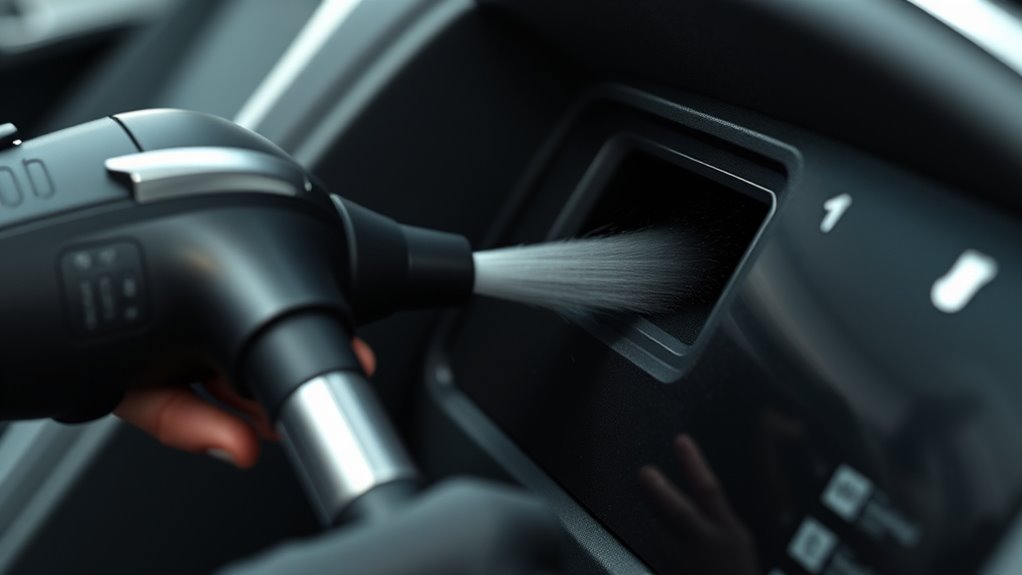
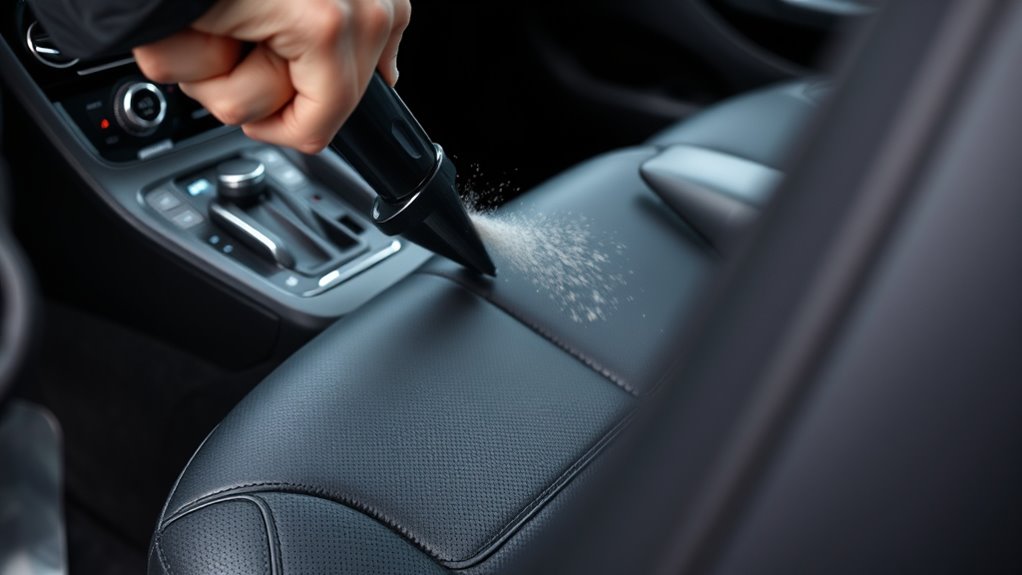
Step-by-Step Guide to the Method
Start by preparing your tools, guaranteeing your vacuum cleaner is equipped with a crevice attachment, a soft brush, and a flexible hose extension. Begin by using the crevice tool to target tight spots like seams, air vents, and under seats, which helps remove dust and debris efficiently. As you clean, consider applying a subtle interior fragrance to keep the car smelling fresh. Next, switch to the soft brush to gently lift dirt from upholstery and carpets, promoting better upholstery care. Use the crevice tool again for edges and corners, ensuring no area is overlooked. Incorporating effective cleaning techniques can further enhance your results and streamline the process. Additionally, utilizing a navigation and mapping feature on smart cleaning devices can help identify hard-to-reach areas for more comprehensive coverage. Understanding vacuum attachments can maximize your cleaning efficiency and achieve a deeper clean. Employing the appropriate paint sprayer tips can also improve the precision of your cleaning process in intricate areas. The crevice-first approach maximizes cleaning efficiency and interior freshness, making your vehicle look and smell great.
Common Mistakes to Avoid
One common mistake to avoid during car detailing vacuuming is neglecting to empty or check the vacuum’s filter and dustbin regularly. Overlooking debris buildup can reduce suction power, making your cleaning less effective. Neglecting filters can also cause clogs or damage the vacuum, leading to costly repairs. Always monitor the dustbin and filter status to maintain optimal vacuum performance. Proper maintenance of your vacuum can prevent damage and extend its lifespan. Regularly inspecting and cleaning vacuum filters ensures consistent suction and prolongs the device’s usability. Additionally, choosing high-efficiency filters can further improve filtration and overall cleaning effectiveness. To keep your vacuum working at its best, consider brand-specific maintenance routines recommended by manufacturers. Here’s a quick overview:
| Mistake | Consequence |
|---|---|
| Overlooking debris | Reduced suction, incomplete cleaning |
| Neglecting filters | Clogs, damage, decreased lifespan |
| Using the wrong attachments | Ineffective cleaning |
| Vacuuming too quickly | Missed spots, dirt redistribution |
| Skipping crevice focus | Dust and debris in hard-to-reach areas |
Stay attentive to these common pitfalls to ensure thorough and efficient vacuuming.
Tips for Reaching Difficult Areas
To clean those tricky spots, use narrow attachments to get into tight spaces. Make sure to tackle deep corners where dust hides, and adjust your vacuum settings for maximum power. These tips will help you reach every area and achieve a thorough clean. Additionally, be aware that excessive ear wax can produce a stronger smell, so maintaining cleanliness can prevent lingering odors. Remember that indoor air quality can fluctuate based on various factors, so staying consistent with your cleaning routine ensures long-lasting results. Implementing effective document management strategies can also help you keep track of your cleaning supplies and schedules, making maintenance more manageable.
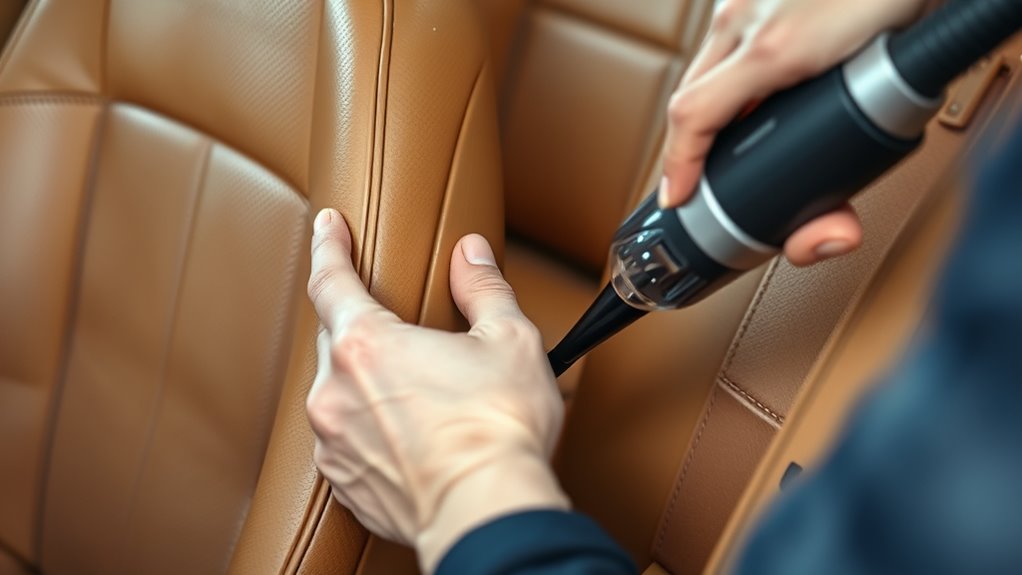
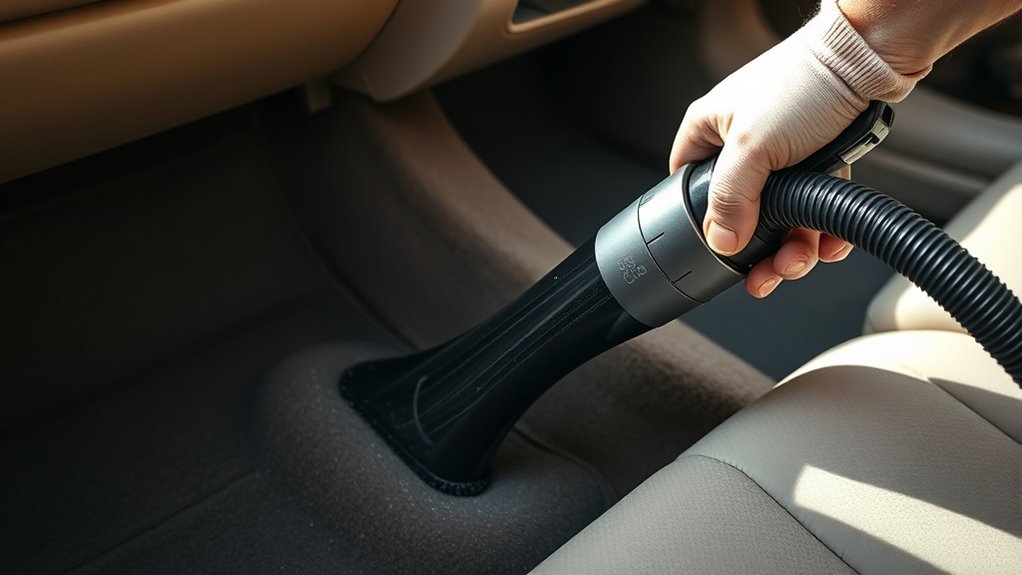
Use Narrow Attachments
Narrow attachments are essential tools when it comes to cleaning tight spaces and hard-to-reach areas inside your vehicle. They allow you to target spots like between seat cushions, along door panels, and around intricate curves. When dealing with pet hair, these attachments help lift stubborn fur from upholstery fibers without damaging the fabric. They’re also perfect for removing upholstery stains that settle deep into seams and crevices. Using a narrow attachment assures you don’t miss hidden dirt or debris that often accumulates in tight corners. Keep the attachment close to the surface, and move slowly to maximize suction. This way, you’ll effectively clean those tricky spots, leaving your interior spotless and fresh. Understanding deep-sky imaging techniques can help you optimize your cleaning methods by focusing on detailed, precise work.
Tackle Deep Corners
Reaching deep corners and tight spots can be challenging, but with the right techniques, you can guarantee every inch of your vehicle’s interior is spotless. Use a narrow nozzle attachment to access hard-to-reach areas, focusing on corners where pet hair tends to gather. For pet hair removal, gently run the brush or nozzle along seams, vents, and between seats to lift embedded hair. When dealing with stains, switch to a slightly damp cloth or specialized stain extraction tools to loosen and remove spots before vacuuming. Pay close attention to under-seat areas and around seat tracks, where debris and pet hair collect. Taking your time ensures you don’t miss any stubborn dirt, leaving your car’s interior fresh, clean, and thoroughly detailed.
Adjust Vacuum Settings
Adjusting your vacuum settings can make a significant difference when tackling hard-to-reach spots. By fine-tuning vacuum power and suction control, you can effectively clean tight crevices without damaging surfaces. Lowering suction helps prevent debris from scattering or causing scratches, while increasing vacuum power enhances dirt pickup in stubborn areas. Use this table as a guide:
| Area | Vacuum Power | Suction Control |
|---|---|---|
| Delicate surfaces | Low | Gentle |
| Tight corners | Medium to high | Maximize |
| Upholstery | Medium | Moderate |
| Cracks & crevices | High | Full |
Adjusting these settings guarantees efficient cleaning while protecting your car’s interior.
Comparing Crevice‑First to Traditional Methods

Starting with crevice‑first cleaning can boost your efficiency by targeting tight spots early on. This approach also reduces surface residue left behind, making the overall vacuuming more thorough. Comparing it to traditional methods helps you decide which technique saves time and leaves your car cleaner.
Efficiency in Cleaning
While traditional vacuuming methods focus on broad surface cleaning first, the crevice-first approach targets hard-to-reach areas immediately, often resulting in a more efficient overall clean. By focusing on spots like tight gaps and vents first, you save time and avoid spreading debris across surfaces. This method is especially effective for removing pet hair hidden in corners and creases, preventing it from settling deeper into fabrics. Additionally, cleaning these tricky areas early helps eliminate odors trapped in seams and vents more quickly, improving the overall scent of your vehicle. With a crevice-first approach, you reduce the need for multiple passes, making your cleaning faster and more thorough. This targeted strategy maximizes efficiency, ensuring a cleaner interior with less effort.
Less Surface Residue
Focusing on crevices first considerably reduces surface residue left behind after vacuuming. Traditional methods often miss debris trapped deep within tight spots, causing pet hair buildup and lingering odors. By targeting these areas first, you lift stubborn pet hair more effectively and minimize spreading dust across surfaces. This approach also prevents dirt from settling back onto seats and carpets, resulting in a cleaner finish. Less surface residue means fewer touch-ups later and a more thorough clean. Additionally, removing debris from crevices helps eliminate odors trapped within tight spaces, leaving your car smelling fresher. Overall, the crevice-first method ensures less surface residue, making your vacuuming more efficient, effective, and better at pet hair removal and odor elimination.
Maintaining Your Car’s Interior After Cleaning
After thoroughly vacuuming your car’s interior, maintaining its cleanliness requires regular upkeep. To keep the interior smelling fresh, consider using a subtle air freshener or interior scent spray. This helps prevent lingering odors and keeps the space inviting. Protect your upholstery by applying a suitable fabric or leather protector, which guards against stains and spills. Regularly wiping down surfaces with a microfiber cloth removes dust and prevents buildup. Keep your mats clean and consider rotating or replacing them periodically to avoid wear. Staying consistent with these simple steps maintains your car’s cleanliness and appearance. Proper upkeep not only makes your driving experience more pleasant but also preserves your vehicle’s value over time.
Professional Insights and Recommendations
Professional detailers emphasize that investing in high-quality vacuum equipment and proper techniques can substantially enhance your car’s interior cleanliness. Using a powerful, well-designed vacuum helps effectively remove dirt, dust, and debris from tight spots, reducing interior odors caused by trapped grime. They recommend starting with the crevice tool to target these areas first. For upholstery stains, thorough vacuuming can loosen particles before applying stain removers, preventing them from setting deeper. Maintaining your vacuum and switching attachments based on surface type also improves results. By following these expert insights, you’ll achieve a fresher, cleaner interior. Proper vacuuming not only enhances appearance but also helps prevent lingering odors and stubborn stains, making your car more comfortable and easier to maintain over time.
Frequently Asked Questions
How Often Should I Perform Crevice-First Vacuuming?
You should perform crevice-first vacuuming during your regular interior maintenance, ideally once a week or every two weeks, depending on how often you use your vehicle. Incorporating this into your cleaning schedule guarantees dirt and debris don’t build up in tight spaces. Regular crevice-first vacuuming keeps your car looking fresh and prevents long-term damage, making it an essential part of maintaining a clean, comfortable interior.
Can This Method Damage Delicate Interior Surfaces?
The crevice-first vacuuming method is safe for your interior surfaces if you use proper techniques. It minimizes vacuum damage risks by carefully targeting tight spots without excessive force, protecting delicate areas like upholstery and trim. Just guarantee your vacuum attachments are clean and suitable for interior surfaces, and avoid pressing too hard. When done correctly, this method preserves interior surface safety while effectively removing debris.
What Specific Vacuum Attachments Are Best for Crevice Cleaning?
You should use a narrow crevice tool attachment, ideally compatible with your vacuum’s attachment system, to clean tight spaces effectively. Choose one with good vacuum filtration to trap dust and debris without spreading allergens. Guarantee the attachment fits securely to avoid damage and maximize suction. Using the right crevice tool with proper attachment compatibility helps you clean thoroughly without risking damage to delicate interior surfaces.
Is Crevice-First Vacuuming Suitable for Pet Hair Removal?
Yes, crevice-first vacuuming is great for pet hair removal, especially in tight spots where pet hair tends to gather. It helps loosen and lift hair from upholstery care and hard-to-reach areas, making your cleaning more effective. Using a crevice tool allows you to target those tricky corners and seams, ensuring thorough removal of pet hair and leaving your car interior fresh and clean.
How Do I Prevent Debris From Spreading During the Process?
To prevent debris from spreading, start by sealing off vents and windows to optimize airflow and contain debris. Use a narrow nozzle to focus suction directly into crevices, minimizing loose debris. Keep a damp cloth handy to wipe surfaces as you go, further preventing messes. By controlling airflow and maintaining debris containment, you guarantee a thorough, efficient clean without spreading dirt or pet hair.
Conclusion
Mastering the crevice-first vacuuming technique transforms your car cleaning routine from good to legendary. By focusing on tight spaces first, you’ll uncover dirt so stubborn it seems to have taken root—like it’s grown a life of its own! Keep practicing, avoid common pitfalls, and use the right tools. Soon, you’ll be the hero of your own car’s interior, making it look so spotless, it’ll outshine the sun. Ready to conquer those crevices?