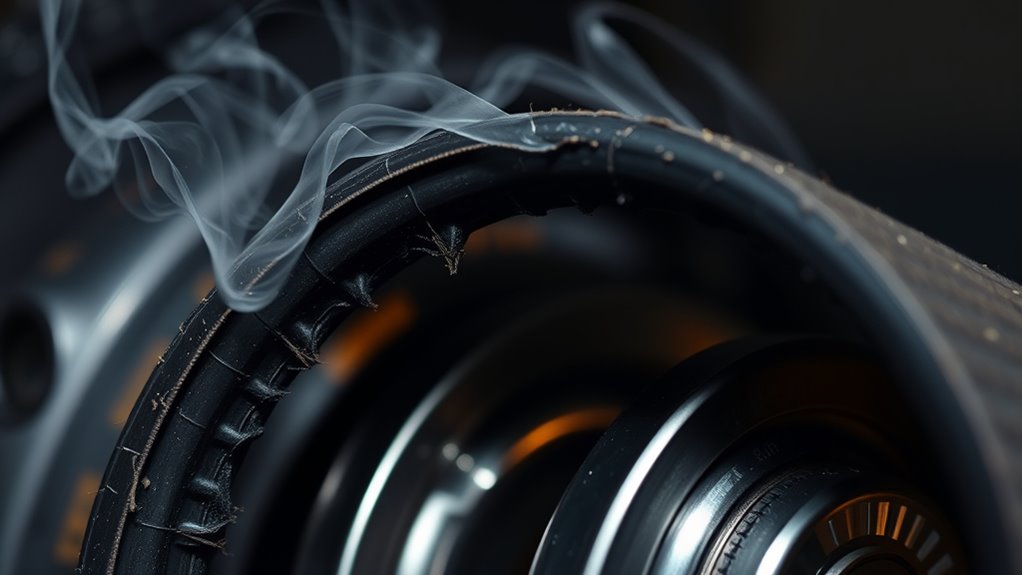
If you notice a burning smell from your vacuum, it’s a strong sign that the drive belt is about to fail. This odor usually comes from the belt slipping or overheating as it wears out, frays, or gets misaligned. Ignoring this warning can lead to belt breakage and more serious damage. To keep your vacuum running smoothly and avoid costly repairs, it’s important to recognize early signs and get it checked—more helpful tips await you.
Key Takeaways
- A burning smell often indicates belt slipping, overheating, or friction due to wear or misalignment.
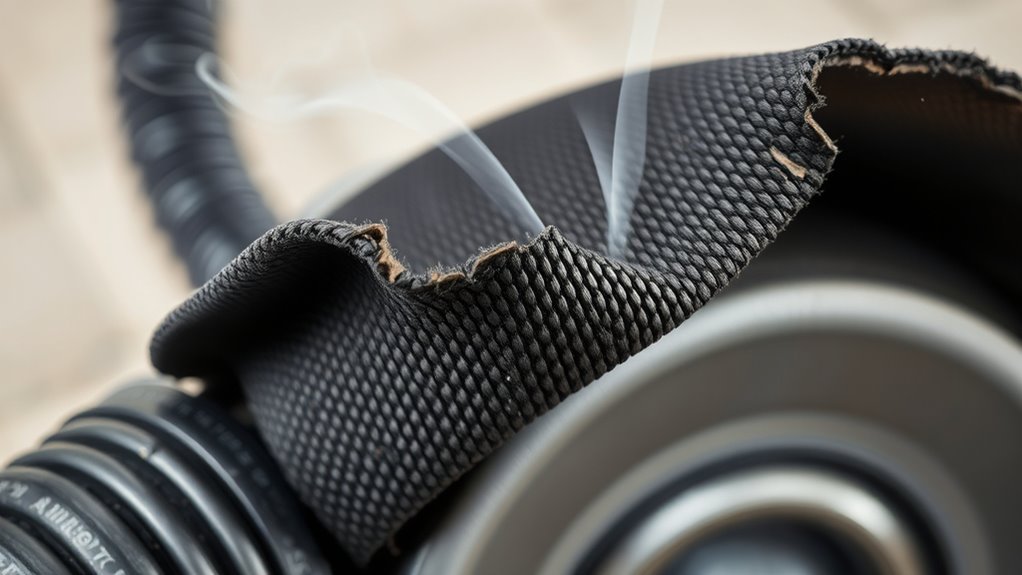
- Visible signs like cracks, fraying, or looseness in the belt suggest imminent failure and potential odor issues.
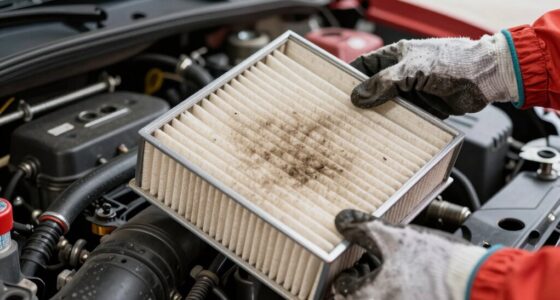
- Excessive debris or dust buildup around the belt area increases friction and risk of burning odors.
- Motor overheating or increased noise during operation can be warning signs of belt failure.
- Regular inspections and maintenance help detect early signs of belt wear before a burning smell occurs.
Understanding the Role of Vacuum Belts
Vacuum belts play a crucial role in the operation of your vacuum cleaner by connecting the motor to the brush roll. When the belt functions properly, it helps transfer power efficiently, ensuring your vacuum maintains strong vacuum suction. This, in turn, improves dust collection because the brush roll agitates carpet fibers and loosens embedded dirt. Without a healthy belt, the brush won’t spin, leading to decreased suction and ineffective cleaning. You might notice your vacuum struggles to pick up debris or leaves a trail behind. A worn or slipping belt can cause the motor to work harder, which may produce a burning smell. Recognizing the importance of the belt helps you understand how it directly impacts your vacuum’s performance and overall cleaning efficiency. Proper maintenance ensures the belt remains in good condition and prevents potential issues. Additionally, understanding the European cloud innovation can help you choose more sustainable and energy-efficient appliances that are easier to maintain. Regularly inspecting and replacing worn belts can also prevent unexpected breakdowns and extend the lifespan of your vacuum. Being aware of the electric power generation with bike generators can also inspire innovative ways to power or maintain your cleaning devices sustainably.
Common Causes of Belt Wear and Tear
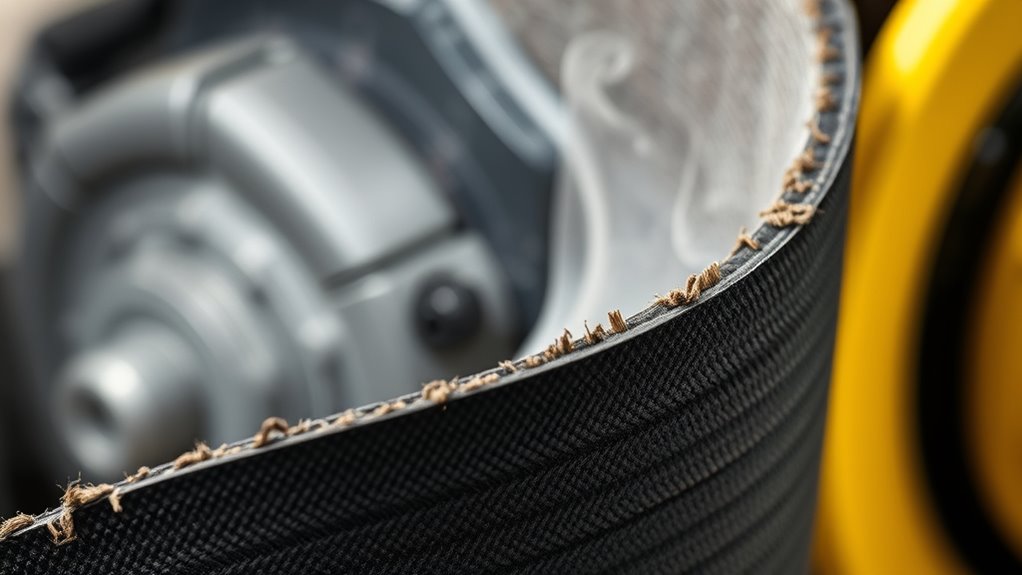
Worn or damaged vacuum belts often develop due to various factors that accelerate their deterioration over time. Recognizing these causes helps you prevent sudden belt failure and potential burning smells. Additionally, free floating conditions in the motor or belt area can lead to uneven wear and premature failure. Neglecting regular checks can cause debris to get tangled in the belt, speeding up wear. Incorrect use of vacuum accessories—using tools not suited for your vacuum can strain the belt, causing cracks or tears. Aging and exposure to heat—over time, belts naturally weaken, especially if your vacuum runs hot or is used frequently. Keeping an eye on these factors helps prolong your vacuum’s lifespan and avoids the unpleasant smell of a failing belt. Regular maintenance guarantees your cleaning routines stay effective and your vacuum accessories work smoothly.
Recognizing the Burning Odor in Your Vacuum

You’ll notice a strange burning smell when your vacuum runs, which is a key sign something’s wrong. This odor often indicates the belt is overheating or burning. Understanding the causes of this smell helps you identify and fix the issue quickly. Additionally, a burning smell may be linked to performance cookies, which analyze key indicators like motor function and belt temperature to alert you of potential problems. Regular maintenance and awareness of wear and tear can help prevent belt failure and extend the lifespan of your vacuum. Being attentive to sensor data can provide early warning signs of impending belt failure, allowing for timely repairs. Recognizing these signs early can also help you maintain optimal performance, ensuring your vacuum continues to operate efficiently. Monitoring component health through these data points is essential for proactive troubleshooting and avoiding unexpected breakdowns.
Unusual Burning Smell
When you notice a strange burning smell coming from your vacuum, it’s a clear sign that something isn’t right. This unusual odor can indicate overheating or a slipping belt, which can compromise vacuum hygiene and allergy prevention. Ignoring it risks damage to your machine and worsens indoor air quality.
Here are three reasons to act quickly:
- The burning smell could mean a belt is slipping or burning, reducing suction power.
- Prolonged exposure risks releasing harmful fumes into your home.
- Addressing it promptly helps maintain effective allergy prevention and keeps your vacuum running smoothly.
Detecting this smell early helps you avoid costly repairs and ensures your vacuum effectively cleans without spreading allergens. Trust your senses—don’t dismiss that strange odor.
Burning Odor Causes
A burning odor in your vacuum often signals a mechanical issue that needs immediate attention. The smell usually comes from the vacuum belt overheating or burning out, which can happen if the belt is worn or misaligned. It may also result from debris caught in vacuum accessories or brush rollers causing friction. Poor storage solutions, like cramming tools or accessories into tight spaces, can obstruct airflow and lead to overheating. Additionally, clogged filters or blocked vents increase motor strain, producing a burning smell. If you notice this odor, stop using your vacuum and inspect the belt and accessories for signs of wear or debris buildup. Regular maintenance and clear storage practices can help prevent these issues and prolong your vacuum’s lifespan. Understanding vacuum component wear and performing routine checks can significantly reduce the risk of unexpected failures. Proper vacuum maintenance and timely replacements are crucial for safe operation. Addressing these issues promptly can prevent further damage and restore your vacuum’s safe operation. Incorporating proper cleaning techniques can also help maintain optimal performance and reduce the likelihood of overheating.
Signs That Indicate a Failing Vacuum Belt

You might notice a strange burning smell coming from your vacuum, which signals the belt could be failing. Additionally, if your vacuum isn’t cleaning as well as it used to, the belt might be slipping or worn out. Pay attention to these signs to prevent further damage and make certain your vacuum runs smoothly. Regularly inspecting the support breakfast options can also help ensure your mornings start off right, much like maintaining your vacuum keeps your home running efficiently.
Unusual Burning Smell
An unusual burning smell coming from your vacuum often signals that the vacuum belt is slipping or burning out. You might notice a sharp, acrid odor that wasn’t there before. This smell can be caused by dust buildup around the belt area, which increases friction and heat. Additionally, if the belt tension is too tight or too loose, it can cause the belt to slip or burn. Regular maintenance and understanding nanotechnology advancements can help in developing better vacuum components to prevent such issues. Be alert to these warning signs: 1. A persistent burning smell that worsens during use. 2. Visible dust or debris near the belt area. 3. Unusual heat or softening of the belt after running the vacuum. Implementing advanced materials in belt manufacturing can also enhance durability and reduce the risk of failure. Addressing these issues early can prevent further damage and keep your vacuum functioning smoothly.
Decreased Vacuum Power
Decreased vacuum power is often the first noticeable sign that your vacuum belt may be failing. When the belt tension weakens or the vacuum belt slips, suction drops, making cleaning less effective. You might notice that your vacuum struggles to pick up debris or isn’t pulling as strongly as before. This happens because a loose or worn belt can’t transfer power efficiently to the brush roll, reducing overall performance. Regularly check the belt tension—if it feels loose or looks worn, it’s time to replace it. A failing vacuum belt not only hampers cleaning efficiency but also risks further damage to your vacuum. Addressing these signs early helps maintain *ideal* power and prevents more costly repairs down the line. In addition, consulting best vacuums for dust removal can help ensure your vacuum maintains optimal performance and air quality.
The Impact of a Worn-Out Belt on Vacuum Performance

A worn-out belt can substantially hamper your vacuum’s performance by causing slippage and reducing power. When the belt deteriorates, you might notice uneven cleaning or difficulty picking up debris. This impacts not only the vacuum accessories but also the overall efficiency of your device. Without a proper belt, your vacuum struggles to generate the suction needed for deep cleaning. Additionally, a faulty belt can lead to increased wear on filters, making filter maintenance more frequent and complicated.
Consider these effects:
- Reduced suction power, leaving dirt behind.
- Increased strain on motor, risking damage.
- Frequent filter clogging, diminishing airflow.
Addressing a worn belt promptly helps maintain peak performance and prevents further damage to your vacuum.
How to Inspect Your Vacuum Belt Safely
Since a worn-out belt can substantially impair your vacuum’s efficiency and cause issues like burning smells, it’s important to check its condition regularly. Start by unplugging your vacuum and locating the belt, which is usually visible around the brush roll. When inspecting, consider the vacuum belt materials—most are made of rubber or synthetic compounds—and look for cracks, fraying, or slack. Be cautious to avoid overstretching or damaging the belt during inspection. Check the belt tension; it should be firm but not overly tight. If the belt feels loose or shows signs of deterioration, it may need a belt tension adjustment or replacement. Regular inspections help catch problems early, preventing burning smells and maintaining your vacuum’s ideal performance. Proper maintenance ensures longevity and optimal operation of your vacuum cleaner.
Steps to Replace a Worn or Broken Vacuum Belt
To replace a worn or broken vacuum belt, you need to gather the right tools first. Next, carefully remove the old belt without damaging nearby parts. It’s helpful to consult the vacuum’s manual or product specifications to ensure proper replacement. When handling small parts, consider using organization techniques to keep track of your components and avoid losing any pieces. Finally, install the new belt correctly to guarantee your vacuum runs smoothly again. Foster a supportive environment by taking your time and ensuring each step is done thoroughly.
Gather Necessary Tools
Gathering the right tools before starting guarantees a smooth belt replacement process. You’ll want to have everything ready to avoid delays and ensure safety. First, grab a screwdriver to remove panels without damaging them. Second, get a pair of pliers—they’re essential for slipping the new belt into place. Third, keep a flashlight nearby; dust buildup can hide crucial parts, and good visibility helps prevent mistakes. A worn or broken belt can cause motor overheating, so quick action is imperative. Having these tools on hand minimizes frustration and helps catch issues like dust buildup early. With everything prepared, you’ll be ready to replace the belt efficiently and restore your vacuum’s performance, preventing further damage or burning smells.
Remove Old Belt Safely
Before removing the old belt, unplug your vacuum to prevent accidental startup and guarantee safety. Check your vacuum model to locate the belt compartment, usually accessible by removing a panel or cover. Carefully release any tension and slide the worn or broken belt off the pulleys. Pay attention to the belt material—rubber belts are common, but some models use synthetic or composite materials. Handle the belt gently to avoid damaging other parts. If your vacuum has a complex belt system, consult the user manual or manufacturer’s instructions. Be mindful not to stretch or twist the belt excessively. Removing the old belt safely sets the stage for installing a new one, ensuring your vacuum operates smoothly and avoids further damage.
Install New Belt Properly
Installing a new belt correctly is essential for your vacuum to run efficiently and avoid future issues. Proper installation ensures smooth vacuum maintenance and prevents belt slippage or burning smells. Here’s what you need to do:
- Carefully loop the new belt around the motor pulley and brush roll, making sure it’s seated firmly without twists.
- Double-check the belt’s alignment to prevent uneven wear, which could lead to premature failure.
- Gently lubricate the belt if recommended by the manufacturer, helping it glide smoothly and reducing friction and heat.
Taking these steps guarantees your vacuum operates quietly and efficiently, avoiding the burning smell caused by a misaligned or overworked belt. Proper belt installation is key to extending its lifespan and maintaining excellent vacuum performance.
Preventive Measures to Extend Your Vacuum Belt’s Life

To help your vacuum belt last longer and avoid that burning smell, it’s important to follow some simple preventive measures. First, guarantee proper belt lubrication if your vacuum model recommends it, which reduces friction and prevents overheating. Regularly check that the vacuum bag is compatible with your vacuum cleaner; a mismatched or overfull bag can strain the belt and cause it to wear out faster. Keep the belt and surrounding components clean and free of debris to minimize unnecessary friction. Additionally, avoid overloading your vacuum and operating it on uneven surfaces, which can put extra stress on the belt. Taking these steps helps maintain ideal belt performance, reduces wear, and prolongs its lifespan, saving you money and preventing unexpected failures.
When to Seek Professional Repairs

Knowing when to seek professional repairs is crucial to prevent further damage and guarantee your vacuum operates efficiently. If you notice a persistent burning smell, it’s a clear sign something’s wrong with your vacuum belt material or belt tension adjustment. Don’t ignore these warning signs.
You should consider professional help if:
- The burning smell intensifies or persists after cleaning or minor adjustments.
- You hear unusual noises or the vacuum suddenly loses suction.
- The belt appears frayed, cracked, or shows signs of excessive wear.
A professional can properly assess whether the belt tension needs adjustment or if the belt material has degraded beyond simple fixes. Prompt repairs protect your vacuum’s motor and prevent costly damage down the line.
Tips for Maintaining Your Vacuum for Long-Term Durability

Regular maintenance is essential for ensuring your vacuum lasts longer and performs effectively. Start with vacuum filter maintenance by cleaning or replacing filters regularly to prevent clogs and improve airflow. This helps avoid overheating and reduces the strain on the belt, lowering the risk of burning smells. Additionally, practice proper cord storage tips: always wind your cord neatly and avoid tight, sharp bends that can damage the wiring. Store your vacuum in a dry, cool place to prevent deterioration of components. Check for tangled hair or debris around the brush roll frequently, and clear blockages promptly. Keeping your vacuum clean and well-maintained not only extends its lifespan but also ensures it operates efficiently, reducing the likelihood of belt failure and unpleasant odors.
Frequently Asked Questions
How Often Should I Replace My Vacuum Belt?
You should replace your vacuum belt every 12 to 18 months as part of regular vacuum maintenance. Keep an eye on the belt lifespan by checking for signs of wear, such as cracks, fraying, or slipping. Regularly inspecting and replacing the belt helps prevent burning smells and ensures your vacuum runs efficiently. Proper maintenance extends the life of your vacuum and keeps it performing at its best.
Can a Burning Smell Indicate Other Vacuum Issues?
A burning smell can signal more than just a failing belt; it might also indicate issues with vacuum airflow or brush roller maintenance. When airflow is obstructed or the brush roller is jammed, the motor strains, causing that burnt odor. Remember, a stitch in time saves nine—so regularly check and clean your vacuum’s brush roller and guarantee proper airflow to prevent damage and keep it running smoothly.
Are There Specific Vacuum Models More Prone to Belt Failure?
Some vacuum models are more prone to belt failure due to their design and reliability. Brands like Hoover, Bissell, and Eureka often experience common belt failure patterns, especially in older or heavily used models. You should regularly check your vacuum’s belt, especially if it’s a model known for lower reliability, to prevent burning smells and guarantee peak performance. Staying aware of these patterns helps you catch issues early.
What Safety Precautions Should I Take During Belt Replacement?
When replacing your vacuum belt, follow a safety checklist to prevent injuries. Unplug the vacuum first to avoid electrical shocks. Wear gloves to protect your hands from sharp edges, and handle the belt carefully. Verify the vacuum is on a stable surface to prevent slips. During vacuum maintenance, always disconnect power and keep small parts away from children. These precautions keep you safe and ensure a smooth belt replacement process.
How Does Using a Vacuum on Uneven Surfaces Affect the Belt?
Using a vacuum on uneven surfaces can strain the belt, affecting its tension and potentially causing it to slip or wear out faster. Poor surface compatibility increases the risk of the belt slipping or overheating, which may lead to a burning smell or belt failure. Always guarantee the belt maintains proper tension and avoid rough, uneven surfaces to prolong the belt’s life and maintain ideal vacuum performance.
Conclusion
Remember, a stitch in time saves nine—addressing vacuum belt issues early can save you from costly repairs down the line. Keep an ear out for burning smells or strange noises, and don’t delay replacing worn belts. Regular maintenance can extend your vacuum’s life and keep it running smoothly. Stay proactive and catch problems early—your vacuum will thank you, and so will your wallet. After all, prevention is better than cure.