If your vacuum headlights aren’t working, a loose connection could be the issue. Start by inspecting the bulb socket terminals for looseness or corrosion. Wiggle the socket to check for intermittent power loss and ensure wiring harness connections are secure. Don’t forget to check hoses for cracks or disconnections, as these can also disrupt vacuum pressure. Fixing these connections often resolves the problem, but there’s more to explore to keep your headlights shining brightly.
Key Takeaways
- Check bulb socket terminals for looseness or corrosion, as this can interrupt power and affect headlight functionality.
- Wiggle the socket to identify any intermittent power loss that may indicate poor connections.
- Ensure wiring harness connections are secure and intact to prevent headlight malfunctions due to loose contacts.
- Inspect the override valve under the steering column to confirm it’s in the correct position for proper headlight operation.
- Keep hoses secured and replace any damaged or disconnected ones to maintain vacuum pressure for headlight movement.
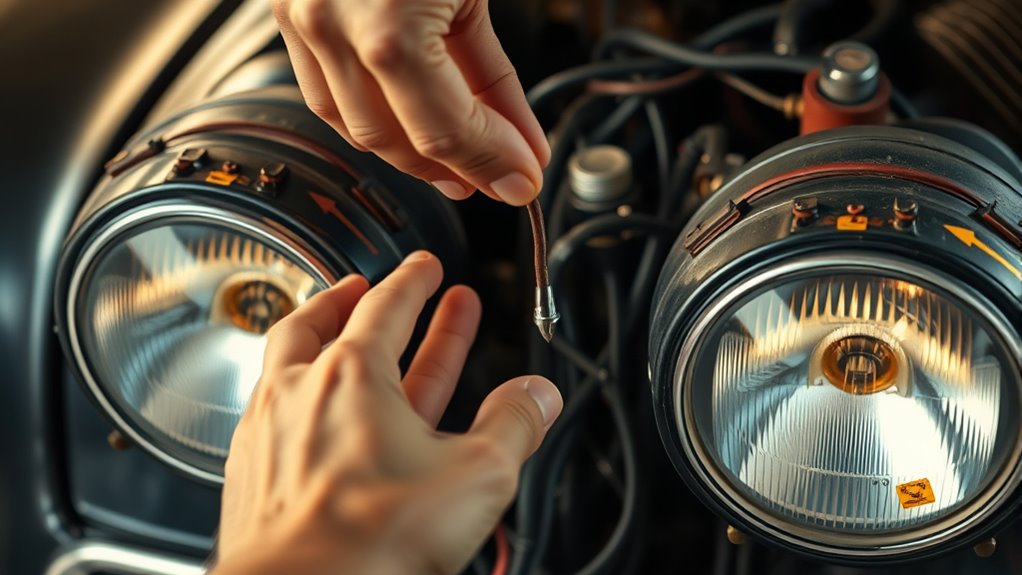
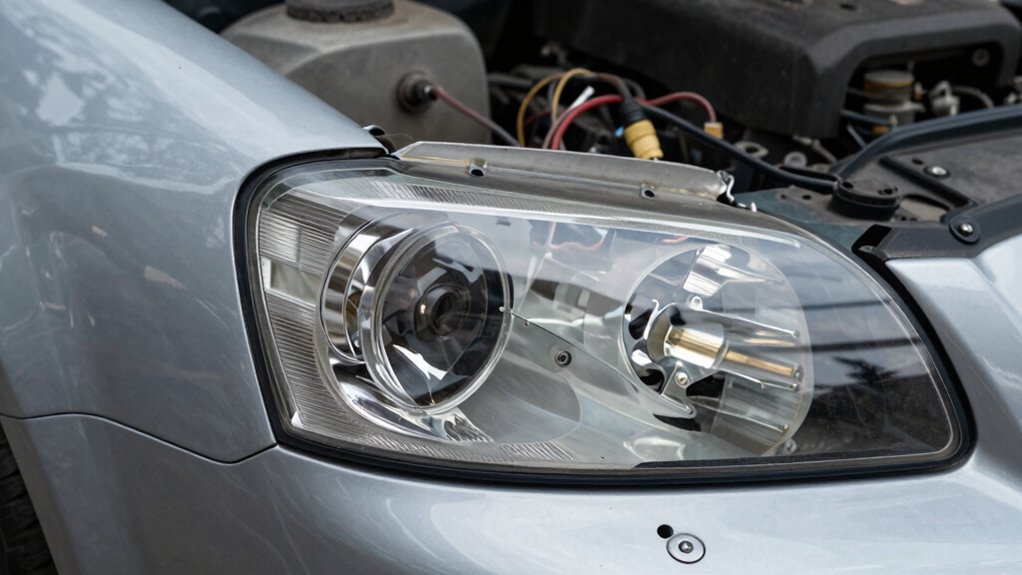
Have you ever wondered why your vacuum headlights aren’t working as they should? If you own a 1968-1982 Corvette, you might experience droopy headlamps or stubborn wiper doors that just won’t budge. The vacuum system relies on engine vacuum to raise and lower the headlight doors, but even a small issue can cause frustrating problems. One of the most common culprits behind these malfunctions is a loose electrical connection.
Start by checking if your headlights fail to raise when you activate the switch or if they drop slowly or stick down. These symptoms often indicate a vacuum loss or an electrical issue. With the engine running, head over to the relay and remove the middle large hose. Use your fingertip to feel for vacuum or grab a gauge to check it. If you don’t feel anything, it’s time to trace the large hose for any cracks, disconnections, or leaks that might be causing the vacuum loss. The importance of vacuum pressure cannot be overstated, as it is essential for the proper functioning of your headlights.
Next, don’t forget about the small control hose at the relay. With the headlight switch pushed in, test for vacuum here too. If you find no vacuum, you might want to apply vacuum directly to the small hose. If the doors lower with vacuum applied but don’t raise without it, you’ve got a relay or control issue. Make sure the override valve under the steering column is up; it affects the vacuum in the lights-off position.
Loose terminals in the bulb socket or wiring harness can also lead to intermittent power loss. You can wiggle the socket side-to-side or up-and-down to see if there’s a dark period from vibration. If you notice this, access the grommet and push the terminals forward using a safety pin for a firmer contact.
Inspect the three large hoses and the smaller control hose under the upper panel. If you spot any cracks or disconnected hoses, replace them. Make sure to secure everything properly on brackets and valves to prevent movement that could lead to further issues. Additionally, check for clogs in the filter and ensure the check valve is functioning correctly; this is crucial for maintaining proper vacuum pressure throughout the system.
After addressing these common issues, reinstall the light bulbs, lock rings, and clip the sockets securely. With the engine on, confirm that your headlights raise and lower smoothly. If you’ve followed these steps and still face problems, it might be time to explore further into the vacuum relay or actuator components. Don’t let loose connections keep your headlights down; tackle these repairs and enjoy the road ahead!

USANOOKS Microfiber Cleaning Cloth Grey - 12 Pcs (12.5"x12.5") - High Performance - 1200 Washes, Ultra Absorbent Microfiber Towel Weave Grime & Liquid for Streak-Free Mirror Shine - Car Washing Cloth
- High Absorbency Microfiber: Locks in 8-10x its weight in liquids
- Durable 2.5mm Thick Design: Resists lint, scratches, and shedding
- Swirl-Free Mirror Shine: Rapid dry layers prevent damage
As an affiliate, we earn on qualifying purchases.
Frequently Asked Questions
What Are the Signs of a Vacuum Leak in Headlights?
If you suspect a vacuum leak in your headlights, look for signs like inconsistent headlight movement, flickering lights, or headlights that won’t raise or lower properly. You might also hear hissing sounds near the vacuum lines. Check for cracked hoses or loose connections, as these can cause weak vacuum and affect performance. Performing a visual inspection and testing the vacuum with the engine running can help you identify the issue.
How Can I Check if the Vacuum Relay Is Functioning?
To verify if the vacuum relay’s functioning, you’ll apply vacuum to the small hose. If the headlights lower with vacuum applied and raise when it’s released, congratulations, your relay’s in good shape! If not, it’s like expecting a surprise party that never happens. Next, confirm the override valve’s up when the headlights are off, then test the actuators individually. A little troubleshooting now saves you a lot of darkness later!
Can a Weak Battery Affect the Vacuum Headlight System?
Yes, a weak battery can definitely affect the vacuum headlight system. If your battery isn’t providing enough power, the vacuum relay may not operate correctly, leading to malfunctioning headlights. Insufficient voltage can prevent the actuators from receiving the necessary vacuum to raise or lower your headlights properly. To resolve this, check your battery’s charge and connections, ensuring everything’s secure and functioning before troubleshooting the vacuum system further.
What Tools Do I Need for Vacuum Headlight Repairs?
For vacuum headlight repairs, you’ll need a few essential tools. Grab a screwdriver set for removing any covers or components. Use pliers for handling hoses and clamps. A multimeter helps check electrical connections and voltage. Don’t forget hose cutters for any damaged vacuum lines. A vacuum pump can assist in testing the system’s integrity. Finally, have a flashlight handy to illuminate tight spaces while you work.
How Often Should I Inspect Vacuum Hoses for Wear?
You should inspect vacuum hoses for wear at least twice a year, or more frequently if you notice any performance issues. Regular checks help catch cracks or leaks early, preventing bigger problems down the road. Pay special attention to areas where hoses bend or connect, as these spots are prone to wear. If you spot any damage, replace the hoses promptly to maintain the proper function of your vacuum headlight system.

Amazon Basics Microfiber Cleaning Cloths, Ultra Absorbent, Lint Free, Streak Free, Non-Abrasive, Reusable and Washable, 16" x 12", Blue/White/Yellow, Pack of 24
- Size: 16 x 12 inches
- Pack Size: 24 cloths
- Material: Microfiber
As an affiliate, we earn on qualifying purchases.
Conclusion
So, don’t let those vacuum headlights leave you in the dark! A loose connection can be the culprit behind your flickering lights, like a stubborn star refusing to shine. By checking those connections, you can bring your headlights back to life and illuminate your path once more. Remember, every journey deserves to be lit up, so don’t hesitate to plunge in and fix that connection—your ride deserves a little magic on the road!

10 Pack Microfiber Cleaning Cloths, Large 30" x 16" Absorbent Streak Free Lint Free Washable Reusable Towels for Floor Mop, Kitchen, Car, Windows, Glass, Stainless Steel, Multi-Purpose Rags, Blue
- EXTRA LARGE SIZE: Each microfiber cleaning cloth measures...
- STREAK FREE & LINT FREE: These microfiber cloths leave surfaces...
- PREMIUM MATERIAL & HIGHLY ABSORBENT: Made from high quality microfiber...
As an affiliate, we earn on qualifying purchases.
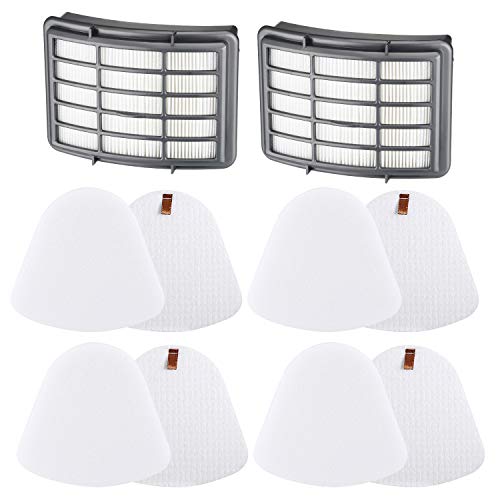
4+2 Pack Filters for Shark Vacuum Navigator Lift Away Filter Replacement Models NV350 NV351 NV352 NV355 NV356E NV360 UV440 UV540 CU500 XFF350 XHF350
- Compatible with Shark Navigator Models: Fits various NV and UV series models
- Valuable Pack Includes: 4 foam, 4 felt, 2 HEPA filters
- High-Efficiency HEPA Filters: Blocks secondary air pollution effectively
As an affiliate, we earn on qualifying purchases.