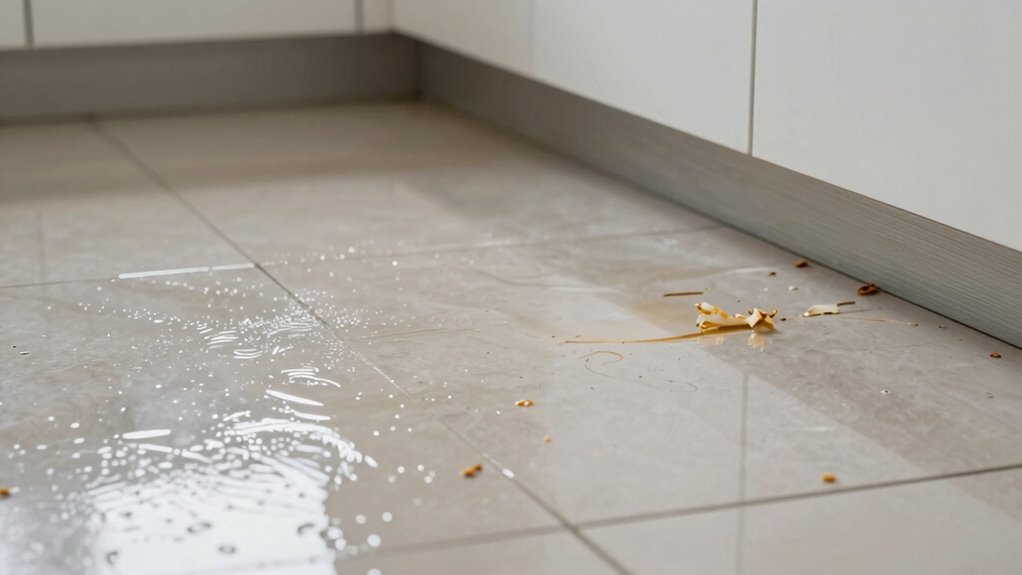

If you’ve got grease film on your kitchen floors, you might be skipping a vital step: proper rinsing after degreasing. Many people forget to thoroughly rinse away the degreaser, which can leave a slippery surfactant film behind. This not only makes your floor hazardous but also allows grease to re-adhere. After scrubbing, make sure to rinse well and dry the area to maintain safety and cleanliness. Want to learn the best degreasing techniques?
Key Takeaways
- Many people overlook the critical step of rinsing after degreasing, which prevents surfactant film buildup.
- Failing to dry the area properly can lead to slip hazards and re-adhesion of grease.
- Regularly inspecting for new grease buildup helps maintain a clean kitchen floor.
- Immediate attention to spills prevents grease from embedding into tile and grout.
- Using a stiff bristle brush during the degreasing process enhances emulsification and removal of grease.

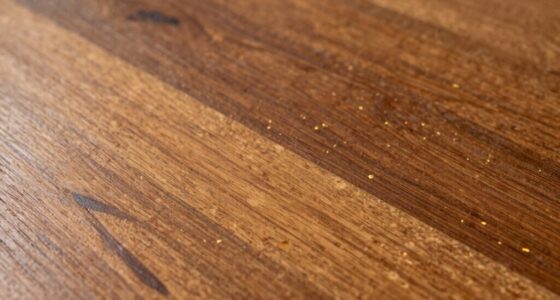
How often do you think about the grease lurking on your kitchen floor? If you’re like most people, it probably doesn’t cross your mind until you slip or notice a grimy residue. Grease films accumulate from cooking splatters, spills, and airborne oil particles, embedding into your tile and grout over time. They create a hydrophobic layer that’s tough to remove with water alone, especially if you don’t clean regularly. Aged grease can even oxidize and form tacky residues that demand stronger cleaning agents. Additionally, neglecting to address grease build-up can lead to increased cleaning difficulty, as the residues become more ingrained over time.
Grease on your kitchen floor often goes unnoticed until it causes slips or leaves a grimy residue. Regular cleaning is essential to prevent buildup.
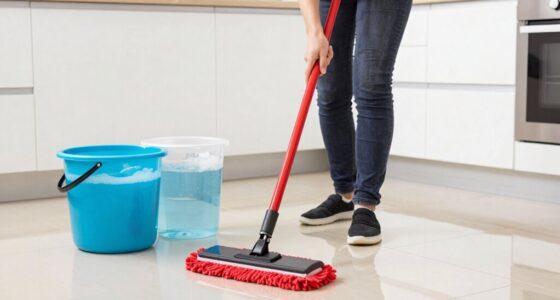
To kick-start the degreasing process, you should first remove any loose debris. Sweeping or vacuuming prevents the redistribution of soil during the wet cleaning phase. Once you’ve cleared the area, it’s time to apply a degreaser. A water-based formula is often your best bet; it’s effective against food grease and safer for most floor finishes. Be sure to follow the manufacturer’s dilution instructions for *ideal* results. Let the degreaser dwell for about five to ten minutes to allow it to emulsify the grease.
After the dwell time, you need to agitate the surface. Using a stiff bristle deck brush or scrubbing pad can help reach into the pores of your tiles and grout, where grease often hides. This step *considerably* enhances the effectiveness of the degreaser. Once you’ve agitated the area, rinse thoroughly with hot water to remove the emulsified oils. Skipping this rinse can leave behind surfactant films that may attract more dirt and make the floor slippery.
Don’t forget to dry the area after rinsing. Use a wet/dry vacuum or a mop to extract excess water, which will help restore friction and reduce slip risks. If you leave water on the floor, you might just find that grease and grime stick around longer than you’d like.
Lastly, keep in mind that proper maintenance includes regularly checking for grease build-up and taking immediate action against spills. Waiting too long allows the grease to embed deeply, making it more challenging to remove. So, don’t overlook the importance of a thorough degreasing routine; it’s the step that can make all the difference in maintaining a clean and safe kitchen. With a little effort, you can banish that grease and keep your kitchen looking spotless. Additionally, incorporating methods like using automated mini-scrubbers can streamline the cleaning process and enhance effectiveness.
Frequently Asked Questions
What Tools Are Best for Scraping Grease off Floors?
The best tools for scraping grease off floors are a plastic scraper or a flap disc. These tools help you effectively lift and remove built-up grease without damaging your tiles. You’ll want to start by scraping the surface gently, ensuring you don’t saturate the area. After that, use absorbent materials like cotton or microfiber towels to dab any excess grease. This combination makes your cleaning process easier and more efficient.
How Often Should I Deep Clean My Kitchen Floors?
You should deep clean your kitchen floors at least once a month, but if you cook frequently, you might find yourself needing to do it more often. While daily sweeping keeps crumbs at bay, the buildup of grease and grime requires a thorough scrub. Think of it like maintaining a garden: regular weeding prevents an overwhelming mess later. By committing to this routine, you’ll guarantee a cleaner, safer cooking environment for yourself and your family.
Are There Any Natural Alternatives to Chemical Cleaners?
Yes, there are natural alternatives to chemical cleaners! You can mix equal parts vinegar and water for a powerful degreaser. Baking soda works wonders, too; sprinkle it on greasy spots, let it sit, then scrub. Lemon juice combined with water also cuts through grease effectively. Don’t forget about castile soap—it’s gentle yet effective. These options are safe and eco-friendly, making them perfect for keeping your kitchen floors clean without harsh chemicals.
Can I Use a Steam Cleaner for Greasy Floors?
Absolutely, you can use a steam cleaner for greasy floors! Think of it as a superhero, blasting away grime with the power of heat and steam. It penetrates deep into the grease, breaking it down effectively. Just make sure to tackle heavy buildup first with a scraper, and follow up with a thorough scrub. After steaming, let the floor dry completely to avoid any slips. Your kitchen will shine like new in no time!
How Do I Prevent Grease Buildup in the Future?
To prevent grease buildup in the future, clean your kitchen floors regularly, especially after cooking. Wipe up spills immediately and use absorbent materials like baking soda on any greasy areas. Consider mopping with a mixture of dish soap and warm water, which helps lift stubborn residue. Also, avoid deep frying too often and ensure good ventilation while cooking to limit airborne grease. Finally, establish a routine to maintain cleanliness in high-traffic areas.
Conclusion
In the grand kitchen ballet, neglecting to degrease your floors is like stepping onto the stage with a slippery shoe—it can lead to a messy disaster. By taking the time to properly degrease, you not only guarantee safety but also maintain a clean, inviting space for cooking and gathering. So, don’t skip this essential step; treat your floors with the care they deserve, and watch your kitchen shine like a well-rehearsed performance.