
To effectively contain dust while drilling, use specialized dust attachments that connect to a vacuum. This keeps debris from spreading and enhances your focus. For overhead tasks, place damp sponges or use drop cloths to catch falling bits. Consider moisture techniques to suppress silica dust. After drilling, don’t forget to vacuum thoroughly and clean your tools to maintain workspace cleanliness. There are even more tips to ensure your project is as clean as it is successful.
Key Takeaways
- Use drill dust attachments connected to a vacuum to capture debris at the source and minimize airborne dust.
- Incorporate wet methods, like running hoses or placing damp sponges, to suppress dust during drilling activities.
- Set up enclosures or barriers around the workspace to contain shavings and direct airflow, preventing dust spread.
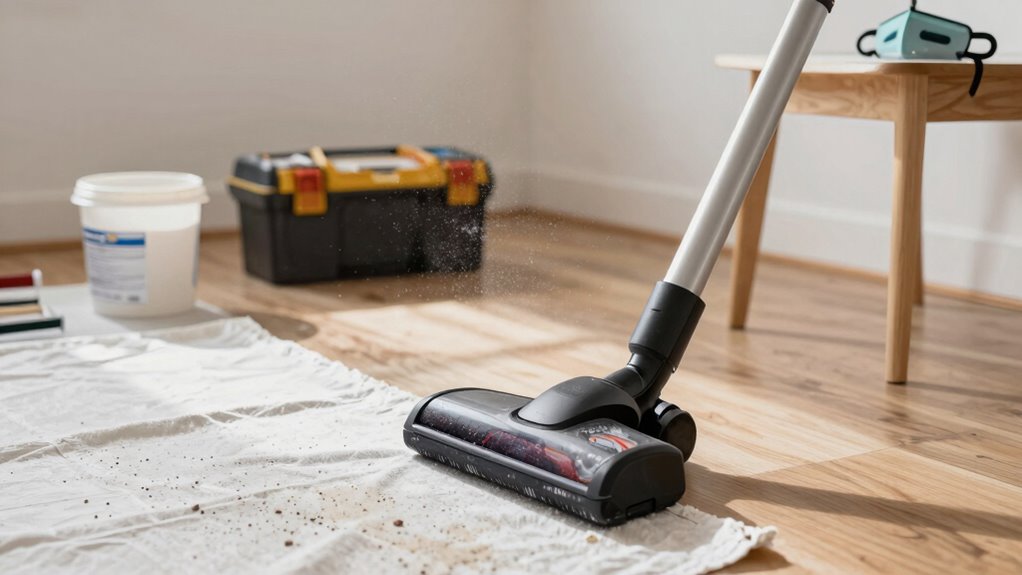
- Position vacuum hoses strategically near the drilling area to quickly catch falling debris and enhance cleanup efficiency.
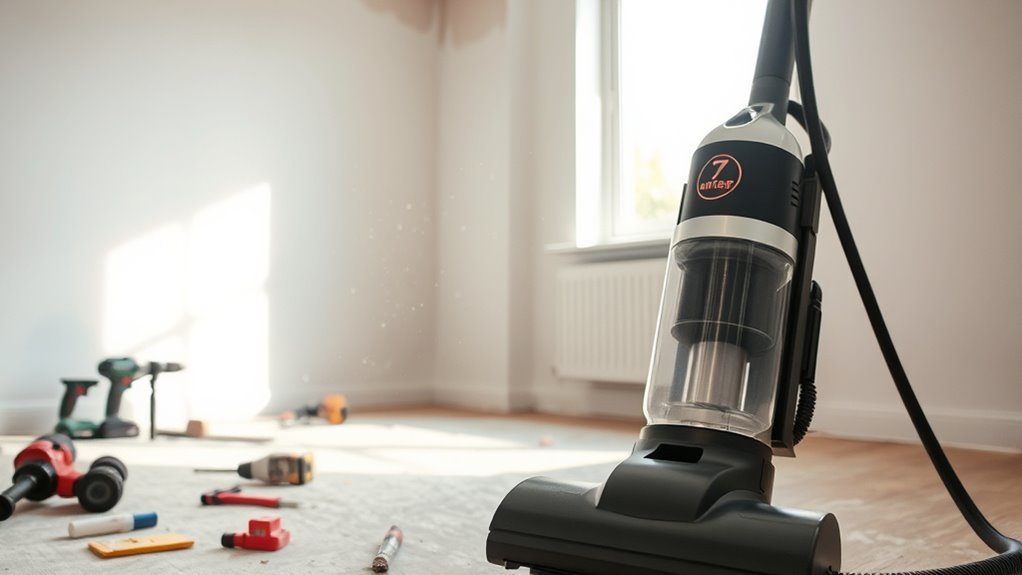
- Follow with thorough post-drilling cleanup using vacuums, brushes, and air hoses to ensure all residual dust and debris are removed.
When tackling DIY drilling projects, it’s easy to get overwhelmed by the mess left behind, especially if you don’t have a solid cleanup plan in place. To keep your workspace tidy and minimize dust dispersion, you’ll want to integrate effective dust collection tools and methods right from the start. Using drill dust attachments that connect to a vacuum can notably reduce airborne particles during the drilling process. These attachments hold securely in place thanks to vacuum suction, letting you focus on your work instead of worrying about the mess.
For more specialized tasks, consider using hammer drill dust attachments that fit your specific tools, particularly for masonry work. Dust collector drill bits are another excellent choice, as they channel debris straight through the bit into the vacuum. Mini drill dust cover collectors, with their rubber seals, work well for drywall and concrete applications, ensuring you contain as much dust as possible. Dust attachments with a vacuum can significantly enhance your ability to manage dust effectively.
Integrating a HEPA vacuum directly to your tools can capture fine particles effectively. Positioning the back vacuum hose near your workspace will help catch any falling debris before it spreads. The suction holds attachments securely on surfaces, eliminating the need for manual support and enhancing the overall efficiency of your cleanup.
Wet methods can also play an essential role in dust containment. Running a garden hose with water on the surface while drilling can suppress dust, while a damp sponge placed under the drill captures overhead debris. Moistening surfaces helps prevent silica dust from becoming airborne, making your workspace safer and cleaner. Using flexible plastic dust bowls with water drops creates a barrier that contains mess without requiring extra tools.
Enclosures around drill bits efficiently contain shavings and direct airflow to a dust collector. Utilizing drop cloths or dust bowls during ceiling and overhead drilling provides an extra layer of protection against falling debris. Vacuum-attached covers can also shield your face from dust, making the process much more comfortable.
Don’t underestimate the importance of post-drilling cleanup either. After vacuuming, use a brush and air hose to remove any remaining shavings. Attachments with internal pipe cleaners can clean the drill bit itself during withdrawal, keeping your tools in top shape. By taking these steps, you can considerably reduce the mess associated with DIY drilling, ensuring a cleaner, more efficient workspace for your projects.
Frequently Asked Questions
What Are the Best Materials for DIY Dust Containment?
The best materials for DIY dust containment include clear enclosures, flexible plastic dust bowls, and vacuum attachments. Use HEPA vacuums for fine particle capture, and consider wet methods like garden hoses or sponges to suppress airborne dust. Drop cloths can protect surrounding areas, while padded enclosures prevent scratches. For ceiling work, vacuum suction attachments or flexible seals help contain debris effectively. These materials guarantee you keep your workspace clean and manageable during projects.
How Often Should I Replace My Vacuum Filters?
How often should you replace your vacuum filters? It’s generally a good idea to change them every 3 to 6 months, depending on usage. If you notice decreased suction or increased dust release, it’s time for a replacement. Regularly checking your filters can keep your vacuum running efficiently, ensuring you’re capturing all that dust effectively. Don’t forget to clean or replace them more frequently if you’re tackling heavy-duty projects!
Can I Use Regular Vacuums for Dust Collection?
You can use regular vacuums for dust collection, but they might not be as effective as specialized models. Standard vacuums often lack the filtration needed to capture fine particles, which can lead to health hazards. If you do use one, guarantee it’s equipped with a HEPA filter to reduce airborne dust. For best results, consider investing in a vacuum designed specifically for dust collection to keep your workspace clean and safe.
What Safety Gear Should I Wear While Drilling?
“An ounce of prevention is worth a pound of cure.” When you’re drilling, make sure you wear safety goggles to protect your eyes from flying debris, and a dust mask to keep harmful particles out of your lungs. Hearing protection is essential too, especially when using power tools. Finally, sturdy gloves can shield your hands from sharp edges and vibrations. Stay safe and enjoy your DIY projects with the right gear!
How Do I Clean My Dust Collection Tools Effectively?
To clean your dust collection tools effectively, start by unplugging them. Use a soft brush to remove dust from crevices and filters. For vacuum hoses, shake them out outdoors or use compressed air to blow out debris. Rinse reusable filters with water and let them dry completely. Wipe down surfaces with a damp cloth to eliminate any remaining dust. Regular maintenance will keep your tools functioning well and extend their lifespan.
Conclusion
Now that you’ve tackled your DIY drilling project, it’s time to channel your inner superhero and combat the dust. Just like the Avengers clean up after their epic battles, you can contain the mess before it spreads. With a little preparation and the right tools, you’ll keep your space tidy and ready for the next adventure. So, don’t let dust be the villain in your home improvement story—take charge and restore order!