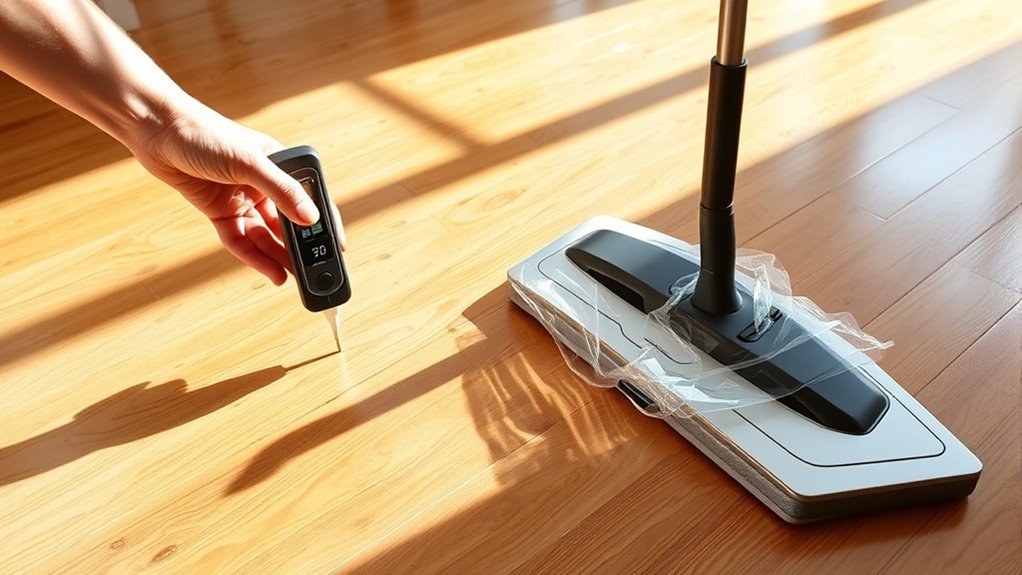
Before you mop your hardwood floors, it’s essential to perform a quick water spot test to check if the seal is intact. Simply place a few drops of water on a hidden, high-traffic area and observe. If the water beads up, your seal is good, and you can proceed with cleaning safely. If it soaks in or leaves a stain, your seal needs attention. Keep going to discover more tips for keeping your floors protected.
Key Takeaways
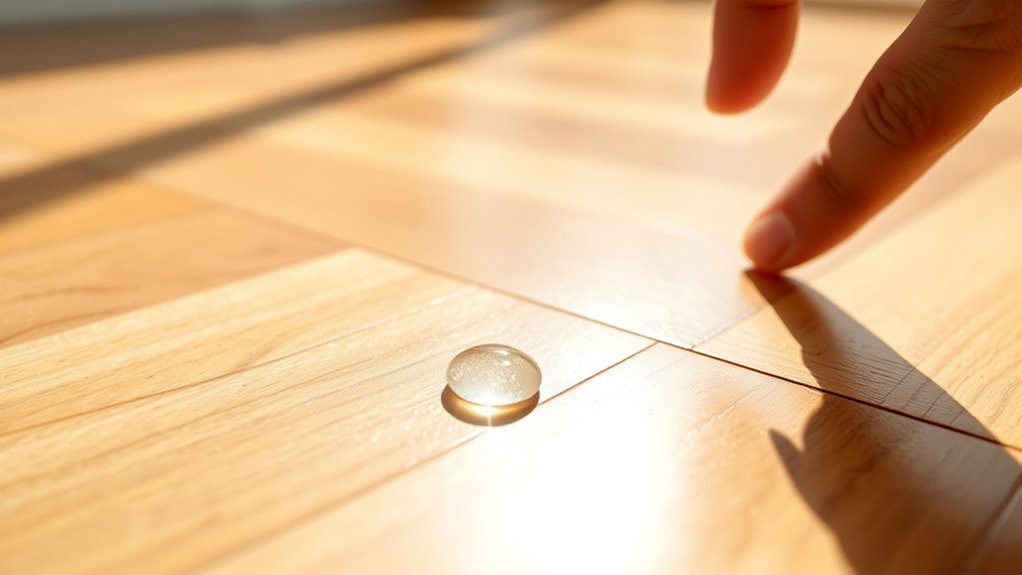
- Perform a water spot test by placing a small drop of water on the floor to check seal integrity.
- Observe if the water beads (sealed) or soaks in (unsealed) to determine if the surface is ready for mopping.
- Ensure the test area is clean and dry before applying water to get accurate results.
- Use visual cues like bead formation or absorption to assess the condition of the sealant.
- Conduct the test prior to mopping to prevent damage and ensure effective cleaning routines.

Amazon Basics Microfiber Cleaning Cloths, Ultra Absorbent, Lint Free, Streak Free, Non-Abrasive, Reusable and Washable, 16" x 12", Blue/White/Yellow, Pack of 24
Microfiber 16 x 12-inch cleaning cloth (24-pack); ideal for cleaning cars, trucks, boats, and more
As an affiliate, we earn on qualifying purchases.
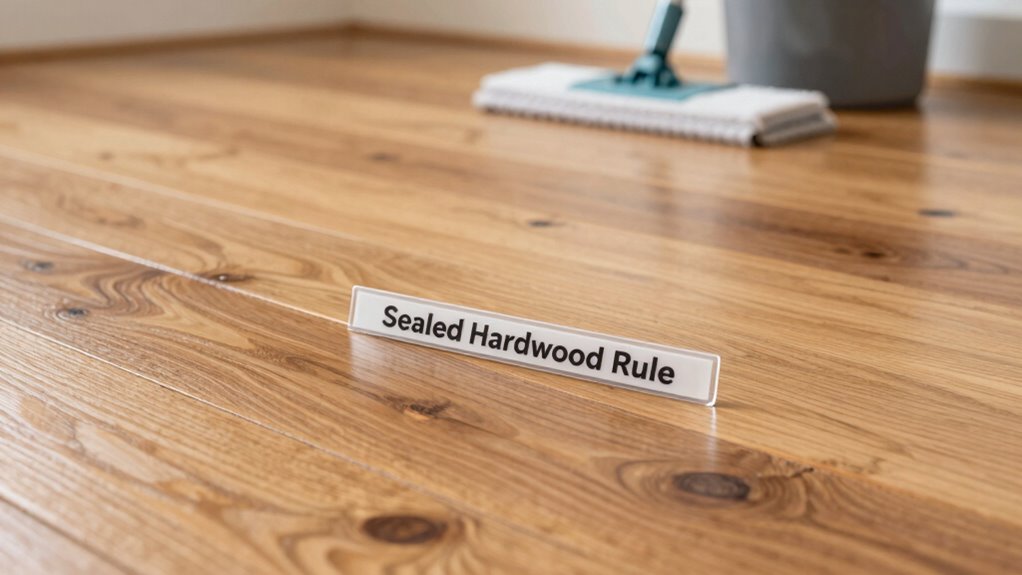
Understanding the Importance of a Proper Seal
A proper seal is vital for maintaining the durability and appearance of your hardwood floors. It protects the wood from moisture, dirt, and daily wear. To achieve this, selecting the right wood floor finish is essential. A high-quality finish forms a protective layer that enhances the floor’s natural beauty and extends its lifespan. Sealing techniques vary, but proper application ensures an even, thorough coat that prevents damage over time. Skipping or applying a poor seal can lead to scratches, stains, and moisture problems. You want your floors to look great and last for years, so understanding the importance of a proper seal is key. When you focus on the right sealing techniques, you set a strong foundation for maintaining your hardwood floors’ integrity and aesthetics. Proper sealing also involves correct application techniques, which are crucial for ensuring the finish bonds well and provides maximum protection. Additionally, using appropriate cleaning tools can help preserve the seal and keep your floors looking their best over time. Incorporating advanced sealing methods can further enhance the longevity and resistance of your hardwood floors against environmental challenges. Selecting the best sealant often depends on understanding wood properties and environmental conditions, making informed choices essential for optimal results.

USANOOKS Microfiber Cleaning Cloth Grey - 12 Pcs (12.5"x12.5") - High Performance - 1200 Washes, Ultra Absorbent Microfiber Towel Weave Grime & Liquid for Streak-Free Mirror Shine - Car Washing Cloth
10x GRIP-ROOT WEAVE - TRAP MORE, WORK LESS: Ultra-absorbent microfiber towels for car Grip Root weave works like...
As an affiliate, we earn on qualifying purchases.
Preparing Your Test Area
Start by choosing a test spot that accurately represents your hardwood. Make certain you clean the area thoroughly to remove dust and debris. Proper preparation guarantees your test results are reliable and effective. Additionally, ensure the surface is free from any residual cleaning products or spills that could affect the test outcome cleaning products. To further ensure accuracy, consider the ventilation considerations in the area, as proper airflow can impact how cleaning products and moisture behave during testing. When selecting a test location, also evaluate the load‑planning tools to ensure the area can handle the testing process without affecting surrounding spaces. Being aware of market conditions can also help you choose the optimal time for testing and cleaning. Incorporating sound therapy techniques into your preparation can help create a quieter environment, improving the accuracy of your results.
Select a Test Spot
Have you chosen the right spot to test your sealant? Picking the perfect test area is vital to guarantee your hardwood’s seal integrity and moisture barrier stay intact. A small, discreet spot prevents surprises later. Consider these key points: 1. High-traffic areas to see how well the seal withstands daily wear. 2. Hidden corners where damage is less noticeable but critical. 3. Areas prone to moisture to verify the seal’s effectiveness as a moisture barrier. 4. Testing in a projector setup area can help evaluate lighting and visual effects, ensuring your space is optimal for viewing. Additionally, selecting a spot that closely mimics the conditions of the entire space can provide more accurate results, especially when testing for environmental factors like humidity and temperature fluctuations. Understanding material properties ensures your test area accurately reflects the performance of the sealant under real conditions. Considering testing conditions such as humidity and temperature can further improve your assessment accuracy. Incorporating environmental monitoring into your testing process can help you better understand how the seal performs over time under various conditions.
Clean the Area Properly
Before applying the sealant, you need to prepare the test area thoroughly. Proper floor prep is vital to ensure the sealant adheres correctly and maintains seal integrity. Begin by sweeping or vacuuming the surface to remove dust, dirt, and debris that could interfere with the sealant’s bond. Next, damp-mop the area with a gentle cleaner to eliminate greasy spots or residues, but avoid soaking the wood. Make sure the surface is completely dry before proceeding. Any remaining dirt or moisture can compromise the test and the overall sealing process. Proper cleaning not only helps achieve a smooth application but also guarantees that the sealant forms a durable, long-lasting barrier. Taking the time to assess the surface condition ensures that you address any underlying issues that could affect adhesion and longevity. Using a proper cleaning technique can further enhance the effectiveness of your preparation, making sure the sealant performs as intended and lasts for years. Additionally, understanding the material composition of your hardwood can help tailor the cleaning process for optimal results. Recognizing the type of finish on your wood can also influence the cleaning approach, ensuring compatibility with your chosen sealant.

10 Pack Microfiber Cleaning Cloths, Large 30" x 16" Absorbent Streak Free Lint Free Washable Reusable Towels for Floor Mop, Kitchen, Car, Windows, Glass, Stainless Steel, Multi-Purpose Rags, Blue
EXTRA LARGE SIZE: Each microfiber cleaning cloth measures a generous 30" x 16", providing more coverage for faster,...
As an affiliate, we earn on qualifying purchases.
Gathering the Necessary Supplies

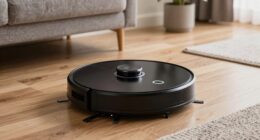
You need to gather the right supplies before starting your hardwood cleaning. Choosing a suitable mop is essential to avoid damaging the finish, so pick one that’s gentle yet effective. Make sure you have all necessary cleaning products on hand to keep your floors looking their best. Additionally, understanding water chemistry can help you select appropriate cleaning solutions that won’t harm the wood surface. Developing a methodical testing process can ensure your cleaning methods are safe and effective for your specific floor type. Incorporating smart cleaning tools can further optimize your routine and prevent accidental damage. Remember to periodically check and clean filters if you are using an air purifier nearby, as this can improve overall indoor air quality during your cleaning.
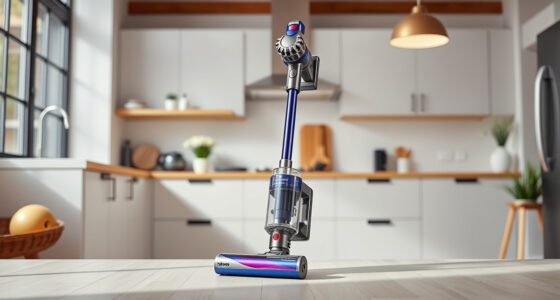
Choosing the Right Mop
Choosing the right mop is essential for maintaining your sealed hardwood floors without causing damage. You want a tool that respects your wood finish and supports the sealing process. A quality microfiber mop head gently lifts dust and dirt without scratching, making your cleaning more effective. Make certain the mop is lightweight, so you can maneuver easily and avoid unnecessary pressure that might harm the finish. Select a mop with an adjustable handle to reach every corner comfortably.
Here are three must-have items to evoke confidence in your choice:
- Soft microfiber mop for gentle cleaning
- Extendable handle for all angles
- Absorbent, quick-drying pads
This setup ensures your sealed hardwood stays beautiful while preserving the integrity of the sealing process.
Gathering Cleaning Supplies
Gathering the right cleaning supplies is essential to effectively maintaining your sealed hardwood floors. You want products that preserve the sealant’s durability and prevent premature hardwood aging. Start with a soft microfiber mop to avoid scratching the surface. Choose a pH-neutral cleaner specially formulated for hardwood to protect the sealant and keep floors looking new. Avoid harsh chemicals or excessive water, which can weaken the sealant over time. Keep a clean cloth or sponge handy for spot cleaning and wiping up spills promptly. Investing in quality supplies ensures your hardwood stays resilient against daily wear and tear, extending its lifespan. Properly assembled supplies help you clean efficiently, safeguarding both the beauty and integrity of your sealed hardwood floors for years to come.

6 Pack Steam Mop Replacement Pads Compatible with Shark Steam Mops S1000/S1000A/S1000C/S1000WM/S1001C, Floor Steamer Pads Washable, Reusable Microfiber Cleaner Pads
1.Steam mop replacement pad size 12.4"x6.7" – Compatible with Shark Steam Mop S1000 Series (S1000/S1000A/S1000C/S1000WM/S1001C).
As an affiliate, we earn on qualifying purchases.
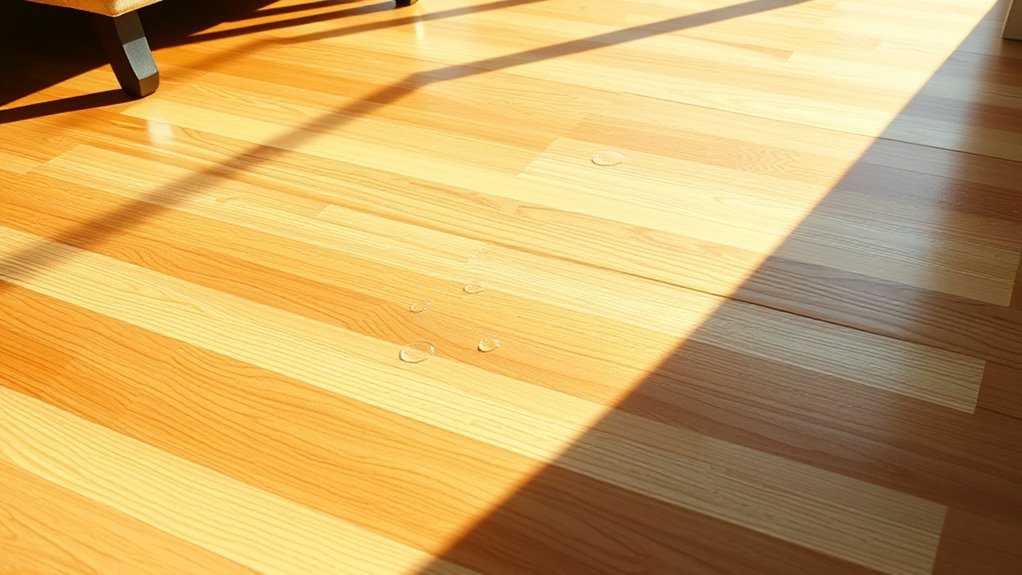
Performing the Water Spot Test

Before applying the water spot test, make sure the hardwood surface is clean and free of dust or debris. This ensures accurate results and prevents dirt from interfering with the test. When you place a small drop of water on the wood, pay close attention to the wood grain and finish sheen. These subtle clues reveal if your hardwood is sealed properly. Here are three key points to consider:
Ensure your hardwood is clean before testing water spots for accurate, revealing results.
- Watch how the water interacts with the wood grain—does it absorb or bead up?
- Notice if the finish sheen remains unchanged or dulls in the spot.
- Feel confident in knowing whether your hardwood’s seal is intact or needs attention.
Performing this simple test gives you peace of mind before mopping, ensuring your hardwood stays beautiful and protected.
Interpreting the Results

When you examine the test, pay close attention to any color changes, as they indicate moisture presence or absence. Assess the moisture level based on the intensity and pattern of the color shift, which reveals how much water has penetrated the wood. Understanding these indicators helps you accurately interpret whether the hardwood is dry or needs further treatment.
Color Change Indicators
How can you tell if the hardwood sealant has properly cured? Look for the color change indicators—these are your visual clues to seal integrity. First, observe the color shift: a consistent, clear change signals the sealant has set correctly. Second, check for uniformity; uneven or spotty colors suggest incomplete curing. Third, trust your instincts—if the color remains stable after the expected curing time, you’re likely good to go. These color indicators provide immediate reassurance, helping you avoid premature mopping that could damage the sealant. Remember, a proper color change confirms the sealant’s integrity, ensuring your hardwood stays protected and beautiful. Don’t rush—wait for the right color signals before proceeding.
Moisture Level Assessment
Evaluating the moisture level of your hardwood floor is essential to guarantee the sealant cures properly. To do this, check the wood moisture by using a reliable moisture meter. Consistently high readings indicate excess moisture, which can compromise sealing techniques and lead to future damage. Look for readings below 12%, as this suggests the wood is sufficiently dry for sealing. If the moisture level is too high, allow more drying time or use dehumidifiers before proceeding. Proper interpretation of your moisture test results helps you decide if your hardwood is ready for sealing or if additional drying is needed. Accurate assessment prevents sealing failures and ensures your hardwood remains durable and protected against moisture-related issues.
What to Do if Your Floors Are Not Sealed

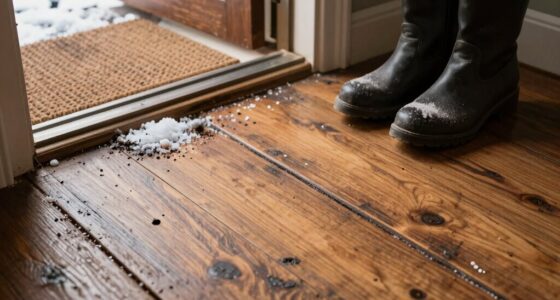
If your floors aren’t sealed, it’s important to take immediate steps to protect them from damage. Unsealed hardwood is vulnerable to moisture, stains, and scratches. To prevent lasting harm, consider these actions:
Unsealed hardwood floors need urgent protection from moisture, stains, and scratches to prevent permanent damage.
- Apply a high-quality sealant promptly, choosing one with proven floor seal durability to reinforce your hardwood’s surface.
- Use proper hardwood sealing techniques to ensure even coverage, sealing all edges and corners thoroughly.
- Limit foot traffic and spills until sealing is complete, giving your floor time to cure and strengthening its resistance.
Addressing unsealed floors quickly can save you from costly repairs later. Proper sealing not only enhances durability but also preserves the natural beauty of your hardwood.
Tips for Maintaining a Well-Sealed Hardwood Surface
Maintaining a well-sealed hardwood surface requires regular care to keep the protective layer intact and effective. To preserve seal integrity, avoid harsh chemicals that can weaken the finish. Instead, use gentle, pH-neutral cleaners designed for hardwood maintenance. Regular sweeping prevents dirt buildup that can scratch the surface. Additionally, placing mats at entry points reduces dirt and moisture that threaten the seal. Here’s a quick guide:
| Task | Frequency | Tips |
|---|---|---|
| Sweeping | Daily | Use soft-bristle broom |
| Damp mopping | Weekly | Use minimal water, dry immediately |
| Spot cleaning | As needed | Use soft cloth, avoid abrasives |
| Inspect seal integrity | Monthly | Look for dull or worn areas |
| Re-sealing or refinishing | Annually or as needed | Consult a professional if necessary |
Common Mistakes to Avoid During the Test
During the test, one common mistake is neglecting to double-check your work, which can lead to overlooked errors or incomplete responses. Avoiding common sealing errors is vital, as they can cause uneven protection and damage. Mopping mishaps often occur when you rush through the process, leaving excess moisture that can ruin your seal. Be mindful of these pitfalls:
Double-check your work to avoid sealing mistakes and ensure quality results.
- Skipping thorough surface inspection before sealing, risking overlooked imperfections.
- Applying too much water during mopping, leading to excessive moisture and compromised sealing.
- Neglecting to let the seal dry completely, which can trap moisture and cause future damage.
How Often to Reassess Your Floor’s Seal
Regularly reassessing your floor’s seal helps catch issues early before they cause significant damage. Check your floor finish and moisture barrier every 6 to 12 months, especially in high-traffic areas or after spills. If you notice dull spots, scratches, or increased moisture absorption, it’s time for a reapplication. Frequent inspections ensure your seal remains effective, maintaining the hardwood’s integrity. Use the following table as a quick reference:
| Time Interval | Signs to Watch | Action Needed |
|---|---|---|
| Every 6 months | Dull or scratched finish | Reapply seal |
| Annually | Increased moisture absorption | Reassess and reseal |
| After spills | Water soaks in quickly | Reseal immediately |
| High traffic | Wear on seal | Consider resealing |
Staying proactive preserves your floor’s beauty and durability.
Additional Signs Your Floors Are Ready for Cleaning
Sometimes, your floors are ready for cleaning even when they don’t look visibly dirty. One sign is that the surface porosity feels different—it’s rougher or duller, indicating the seal integrity might be compromised. Another clue is if water no longer beads up on the surface, suggesting the seal is weakening. Finally, if you notice increased dirt or grime settling into tiny cracks, it signals your seal isn’t doing its job. These signs show your hardwood’s protective layer needs attention before mopping. Ignoring them can lead to damage and deeper dirt penetration. Stay alert to these subtle cues to keep your floors sealed, shiny, and protected for the long haul. Recognizing these signs ensures you’re ready for a safe, effective cleaning.
Frequently Asked Questions
Can I Perform the Test on Any Hardwood Floor Finish?
Yes, you can perform the test on any hardwood floor finish, but you should first check for water absorption and finish compatibility. Apply a small amount of water to an inconspicuous area and wait a few minutes. If the water beads up, your finish is sealed, and mopping is safe. If it soaks in, you might need a different cleaning method or finish treatment to avoid damage.
How Long Should I Wait After Applying Water to Observe Results?
Time flies when you’re eager to clean, but patience is key here. You should wait about 15 to 20 minutes after applying water for the test duration, then observe the results closely. During observation timing, check for any color change or water absorption. If the finish remains unchanged, you’ve got a sealed hardwood floor. If not, it’s time to contemplate a different cleaning approach before mopping.
Is There a Risk of Damaging the Floor During the Test?
Yes, there’s a small risk of floor damage if you don’t perform the test safely. To guarantee test safety, use a damp cloth with minimal water and avoid excessive moisture. Keep an eye on the test spot, and don’t let water sit too long. This way, you minimize the risk of damaging your floor while confirming if it’s sealed enough for mopping.
What Are Alternative Methods to Check if My Floor Is Sealed?
You can check if your floor is sealed by using testing solutions like a few drops of water or a small amount of alcohol on an inconspicuous area. Observe visual indicators—if the liquid beads up and doesn’t soak in, your floor is likely sealed. This method is quick, simple, and safe, helping you determine whether mopping is appropriate without risking damage to the surface.
How Does Humidity Affect the Water Spot Test Accuracy?
Humidity interference can impact the water spot test accuracy because high humidity levels cause moisture to linger longer on your floor, making it harder to determine if the wood is sealed. To get a reliable moisture measurement, verify the room’s humidity is stable and low before testing. This way, you can confidently assess if water spots quickly absorb or bead up, indicating whether your hardwood is sealed or not.
Conclusion
Think of your hardwood floor’s seal as its armor. When it’s strong, cleaning feels like a gentle breeze—easy and worry-free. By performing this quick test regularly, you’ll catch any weak spots before damage sneaks in. Keep your floor’s seal shining like a polished jewel, and your home will sparkle with every step. Stay vigilant, and your hardwood will stand tall, bright, and beautiful for years to come.