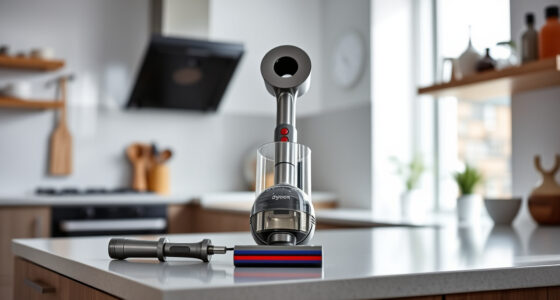
To deep-clean your bagless canister without creating a dust cloud, first gather gentle cleaning tools like microfiber cloths and soft brushes. Carefully empty and shake out the canister over a trash bag or outside to minimize dust dispersal. Remove and clean the filter gently, ensuring it’s dry before reassembly. Wipe down the interior and exterior with minimal disturbance, then reassemble and test your vacuum. Keep going for more tips on maintaining a dust-free canister.
Key Takeaways
- Shake and tilt the canister gently over a trash bin or outside to dislodge debris without creating dust clouds.
- Use a damp microfiber cloth to wipe the interior and exterior surfaces, avoiding dry dust dispersal.
- Detach and clean filters carefully with soft brushes or compressed air, ensuring they are dry before reinserting.
- Remove attachments and hose sections, cleaning them separately with damp cloths to prevent dust spread.
- Reassemble the canister securely, then test suction and airflow to confirm a thorough, dust-free clean.

USANOOKS Microfiber Cleaning Cloth Grey - 12 Pcs (12.5"x12.5") - High Performance - 1200 Washes, Ultra Absorbent Microfiber Towel Weave Grime & Liquid for Streak-Free Mirror Shine - Car Washing Cloth
- High Absorbency Microfiber: Locks in 8-10x its weight in liquids
- Durable 2.5mm Thick Design: Resists lint, scratches, and shedding
- Swirl-Free Mirror Shine: Rapid dry layers prevent damage
As an affiliate, we earn on qualifying purchases.
Gather Your Cleaning Supplies and Prepare the Workspace
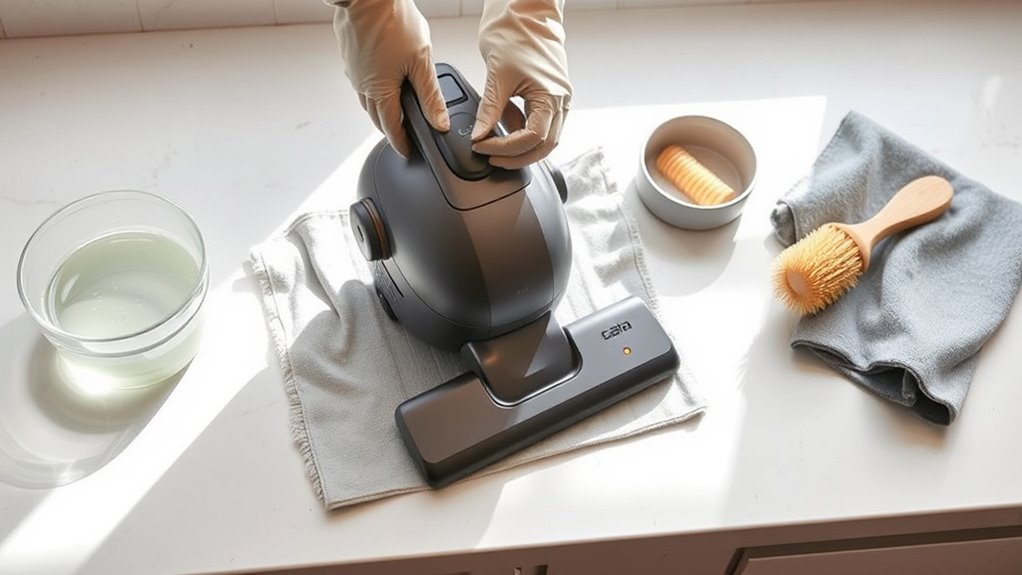
Have you gathered all the necessary cleaning supplies and prepared your workspace? Proper vacuum maintenance begins with organizing your tools beforehand. Collect your microfiber cloths, mild cleaning solutions, screwdrivers, and replacement filters. Clear your workspace to make sure you have enough room to work comfortably and avoid knocking over items. Keeping your workspace organized helps prevent accidental damage and keeps you focused. Make sure you have a stable surface to work on, and consider laying down a towel or mat to catch dust or debris. Gathering everything in advance saves time and minimizes interruptions. Being prepared ensures you can deep-clean your bagless canister efficiently, with all tools at your fingertips. Additionally, understanding the importance of contrast ratio can help you evaluate your projector’s image quality more effectively. To further enhance your cleaning routine, understanding the dust filtration system can lead to better maintenance and improved device longevity. Regularly inspecting your vacuum’s filter system is also crucial for optimal performance and dust containment. Moreover, familiarizing yourself with the various cookie categories can help you manage your privacy preferences during online research. Checking your vacuum’s performance cookies can provide insights into how well your device is functioning over time.

Amazon Basics Microfiber Cleaning Cloths, Ultra Absorbent, Lint Free, Streak Free, Non-Abrasive, Reusable and Washable, 16" x 12", Blue/White/Yellow, Pack of 24
- Size: 16 x 12 inches
- Pack Size: 24 cloths
- Material: Microfiber
As an affiliate, we earn on qualifying purchases.
Empty and Shake Out the Canister Carefully

Hold the canister firmly and give it a gentle shake to loosen dust and debris. Make sure to tilt it over a trash bin to avoid spreading dirt around. Always dispose of the contents properly to keep your cleaning safe and effective. Incorporate simple systems into your routine to make cleanup easier and more efficient. To prevent dust clouds during disposal, consider using a sealed container or covering the canister opening with a cloth before shaking. Additionally, designing your outdoor landscape to minimize dust can help reduce overall mess during cleaning. Employing air purification techniques can also assist in maintaining a cleaner environment during and after the cleaning process. Using effective filtration methods can further enhance air quality in your workspace during maintenance.
Gentle Shaking Technique
To effectively start the cleaning process, gently shake out the canister to dislodge loose debris. This careful motion helps maintain airflow and prevents dust from escaping into the air, ensuring dust containment. Use a gentle, controlled shake rather than a vigorous one, which could send particles airborne. Hold the canister firmly but softly, tipping it upside down and side to side to loosen dirt without creating a cloud. Focus on smooth movements to avoid disturbing settled dust excessively. This technique preserves the internal filter’s efficiency and helps keep dust contained within the canister. Incorporating gentle handling techniques can further enhance dust containment and protect air quality during cleaning. Additionally, ensuring the proper size and fit of the filter helps optimize dust collection and prevents leaks during the process. Regularly checking the canister seal integrity can also prevent dust leakage and maintain overall cleaning performance. Maintaining a dust containment method during cleaning is crucial for health and efficiency, especially in spaces with sensitive individuals. Being mindful of dust containment methods ensures that cleaning remains efficient and minimizes airborne dust.
Proper Disposal Method
After giving the canister a gentle shake to loosen debris, carefully prepare it for disposal. Hold the canister over a trash bin, and slowly open the lid to avoid dust clouding your space. Use a gentle tap or tilt to dislodge stubborn dust and debris, ensuring minimal dust disposal mess. Be mindful of waste management by sealing the canister afterward to prevent dust escape during transport to the trash. Avoid shaking or tapping too aggressively, which can send dust airborne. For best results, dispose of the debris outdoors or in a well-ventilated area. Proper disposal not only keeps your space clean but also minimizes dust exposure, making your deep-cleaning process safer and more effective. Incorporating proper disposal methods can help maintain a dust-free environment and prolong the cleanliness of your space. Additionally, understanding airborne dust risks can further improve your safety during cleanup. Being aware of dust management techniques is essential to prevent respiratory irritation and maintain a healthy environment.

10 Pack Microfiber Cleaning Cloths, Large 30" x 16" Absorbent Streak Free Lint Free Washable Reusable Towels for Floor Mop, Kitchen, Car, Windows, Glass, Stainless Steel, Multi-Purpose Rags, Blue
- EXTRA LARGE SIZE: Each microfiber cleaning cloth measures...
- STREAK FREE & LINT FREE: These microfiber cloths leave surfaces...
- PREMIUM MATERIAL & HIGHLY ABSORBENT: Made from high quality microfiber...
As an affiliate, we earn on qualifying purchases.
Remove and Clean the Filter Properly
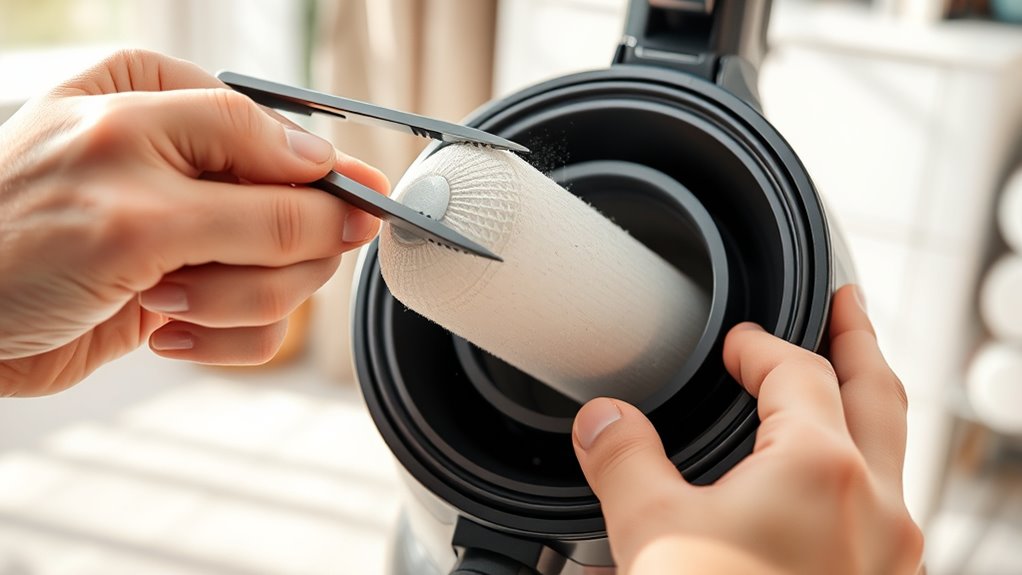
Removing and cleaning the filter properly is essential for maintaining your canister vacuum’s performance. Regular filter maintenance guarantees ideal airflow and prevents dust buildup that can clog the system. Start by turning off and unplugging your vacuum. Carefully remove the dust filter, noting how it fits for easy reinstallation. Check the filter for accumulated debris and dust, and clean it according to the manufacturer’s instructions—usually rinsing with water or replacing if it’s disposable. Make sure the filter is completely dry before reinserting it to avoid mold growth. Properly maintained filters keep dust from recirculating into the air and extend the life of your vacuum. Regular cleaning of your dust filter guarantees consistent suction and overall better cleaning results. Additionally, understanding filter types and materials can help you choose the most suitable cleaning method and prolong the filter’s effectiveness. Being aware of best cleaning practices for different filter types ensures you maintain optimal performance. Furthermore, proper handling of vacuum components can prevent damage and ensure thorough cleaning. To further enhance your maintenance routine, consider checking manufacturer guidelines for specific cleaning recommendations tailored to your vacuum model.
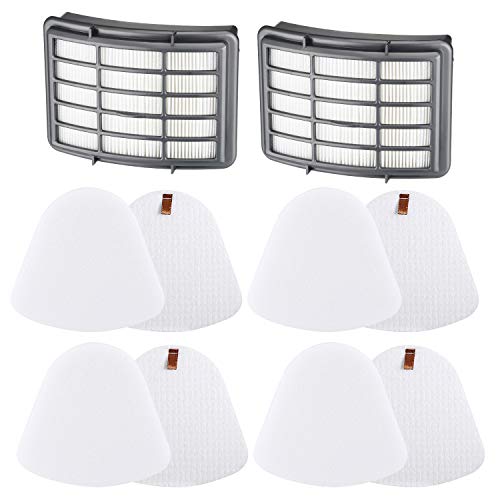
4+2 Pack Filters for Shark Vacuum Navigator Lift Away Filter Replacement Models NV350 NV351 NV352 NV355 NV356E NV360 UV440 UV540 CU500 XFF350 XHF350
- Compatible with Shark Navigator Models: Fits various NV and UV series models
- Valuable Pack Includes: 4 foam, 4 felt, 2 HEPA filters
- High-Efficiency HEPA Filters: Blocks secondary air pollution effectively
As an affiliate, we earn on qualifying purchases.
Use Gentle Techniques to Dislodge Dust and Debris

When dislodging dust and debris from your vacuum’s components, using gentle techniques is key to preventing damage and ensuring thorough cleaning. Avoid forceful scrubbing or poking, which can harm delicate parts and disrupt airflow maintenance. Instead, use a soft brush or compressed air to loosen dust carefully. Carefully tap or shake filters to dislodge debris without damaging them, and always handle filters gently to extend their lifespan and maintain proper airflow. If filters look clogged or damaged, replace them promptly to keep your vacuum working efficiently. Maintaining good airflow is essential for peak performance and dust containment. Properly managing airflow and debris removal is a fundamental aspect of connected home fitness that ensures your equipment functions optimally. By using gentle methods, you reduce the risk of dispersing dust into the air and help ensure your deep-cleaning efforts are effective and dust-cloud free.
Clean the Canister Interior With Minimal Dust Dispersal

Using gentle techniques to dislodge dust and debris from your vacuum’s components helps prevent damage and maintains airflow. To clean the canister interior with minimal dust dispersal, start by carefully removing the canister over a trash bag or outside. Use a damp cloth or microfiber towel to wipe the interior surfaces, avoiding harsh scrubbing that could stir up dust. If needed, use a soft brush to loosen stubborn debris, keeping movements slow and controlled. This approach promotes airflow optimization by preventing dust clouds that can clog filters or reduce suction. Keep the canister lid slightly open during cleaning to contain dust and prevent it from escaping into the air. Focused, gentle cleaning guarantees your vacuum stays efficient while minimizing mess and dust dispersal.
Wipe Down the Exterior and Attachments
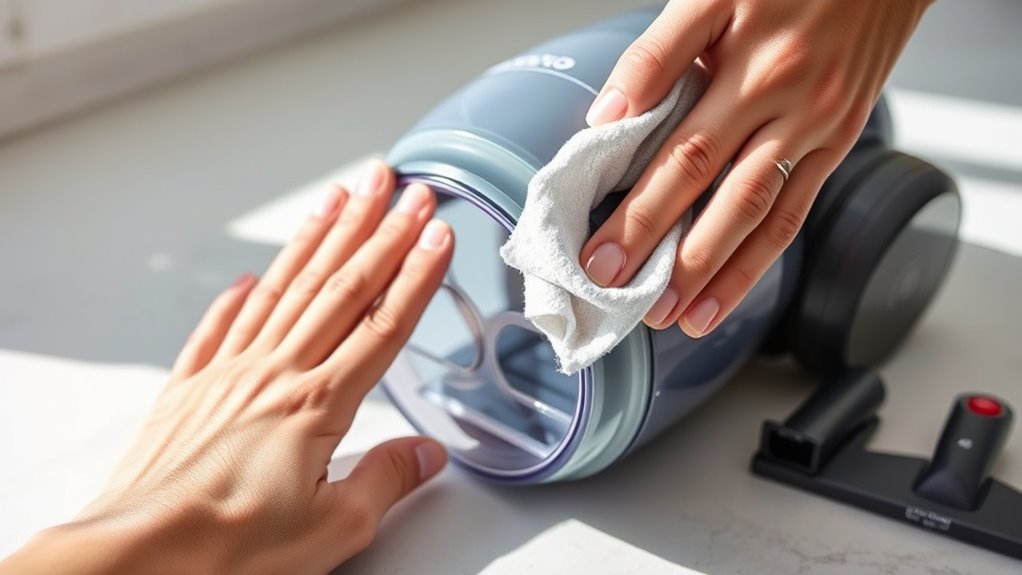
Start by grabbing a microfiber cloth to wipe down the canister’s exterior, removing dust and smudges. Next, detach the attachments and clean them thoroughly to prevent dirt buildup. Taking these steps guarantees your vacuum looks and performs its best.
Use Microfiber Cloths
Wondering how to make your canister look like new again? Using microfiber cloths is your secret weapon. Their dust trapping capacity and microfiber effectiveness ensure a thorough clean without spreading dust clouds. Gently wipe down the exterior and attachments, pressing lightly to pick up stubborn dirt. Microfiber cloths attract dust instead of dispersing it, making your cleaning more efficient and less messy.
| Clean Surface | Microfiber Cloth Benefits |
|---|---|
| Exterior of the canister | Traps dust and pet hair effortlessly |
| Attachments | Cleans without scratching |
| Hard-to-reach corners | Reaches tight spots without hassle |
This simple step transforms your cleaning routine, leaving your canister spotless and dust-free.
Detach and Clean Attachments
Before cleaning, detach all attachments from the canister to guarantee a thorough wipe-down. Proper attachment maintenance helps prevent dust buildup and keeps your vacuum working efficiently. Remove tools like crevice tools, brushes, and extension wands, then clean each with a damp microfiber cloth. Pay attention to dust and debris that may have accumulated, especially in narrow attachments. Wipe down the exterior of each attachment to remove dirt and prevent dust from spreading when reassembling. Regularly cleaning these parts reduces dust prevention issues and maintains suction power. Verify all attachments are completely dry before reattaching to avoid mold or mildew. This step keeps your vacuum functioning smoothly and extends its lifespan, making future cleaning easier and more effective.
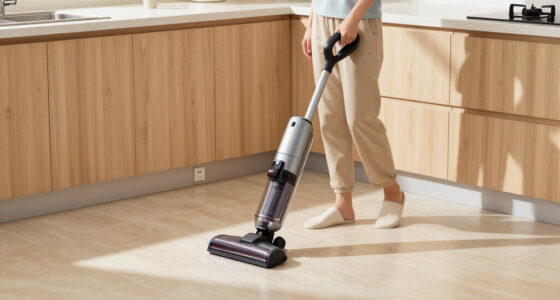
Reassemble and Test Your Vacuum for Optimal Performance

Once you’ve reassembled all the parts, it’s important to test your vacuum to guarantee it’s working at its best. Proper reassembly ensures maximum vacuum maintenance and dust containment, preventing dust clouds from escaping during use. Turn on your vacuum and check for any unusual sounds or loss of suction. Move it across a surface to confirm it picks up debris effectively. Inspect the hose, filters, and seals for proper fit and airtight connections. If you notice weak suction or dust escaping, recheck that all parts are securely in place and that filters are properly installed. Regular testing after cleaning helps maintain peak performance and keeps dust contained, so you can clean efficiently without creating a mess. This step ensures your vacuum functions smoothly and maintains good air quality.
Frequently Asked Questions
How Often Should I Deep-Clean My Bagless Canister Vacuum?
You should deep-clean your bagless canister vacuum every three to six months to maintain ideal vacuum performance. Regular vacuum maintenance, including thorough cleaning of filters, canister, and brushes, helps prevent dust buildup and guarantees efficient operation. Adjust cleaning frequency based on how often you vacuum and the amount of dust or pet hair in your home. Consistent deep-cleaning keeps your vacuum running smoothly and prolongs its lifespan.
Can I Use Household Cleaning Products Inside the Vacuum?
Sure, go ahead and toss your household cleaning products into your vacuum for “vacuum maintenance”—just kidding. You shouldn’t use regular cleaning products inside your vacuum, as they can damage filters and internal parts. Stick to manufacturer-recommended methods, like water or specialized vacuum cleaning solutions. This guarantees your bagless canister stays spotless without risking a disastrous chemical reaction, maintaining your vacuum’s longevity and your sanity.
What Are Signs My Filter Needs Replacement or Cleaning?
You’ll know your vacuum filter needs cleaning or replacing when you notice decreased suction or mustier odors. Regular vacuum maintenance extends your filter’s lifespan, but if it looks dirty or clogged after cleaning, it’s time for a replacement. Check your owner’s manual for specific guidelines on filter lifespan. Promptly addressing filter issues keeps your vacuum running efficiently and helps prevent dust and debris from escaping during use.
Is It Safe to Submerge Any Parts of the Vacuum in Water?
Think of your vacuum as a delicate ship’s compass. You shouldn’t submerge parts in water during vacuum disassembly because it risks water damage. Only the removable, non-electrical parts—like filters and brushes—can be gently cleaned with water, but avoid soaking electrical components. Water can cause damage, so always keep electrical parts dry. To keep your vacuum safe and functioning, follow manufacturer instructions and avoid submerging any electrical parts.
How Do I Prevent Dust Clouds During Future Cleaning Sessions?
To prevent dust clouds during future cleaning, focus on dust containment and air filtration. Always empty your canister in a well-ventilated area, preferably outside. Use a damp cloth to wipe the canister interior, reducing airborne dust. Make sure your vacuum’s filters are clean and properly installed to improve air filtration. Regularly check and replace filters, and handle the canister gently to minimize dust escape during maintenance.
Conclusion
Regular deep cleaning of your bagless canister can extend its lifespan and improve your vacuum’s efficiency. Did you know that neglecting proper cleaning can reduce suction power by up to 50%? By following these simple steps, you’ll keep dust and debris at bay without creating a cloud, ensuring a healthier home environment. Stay consistent with your cleaning routine, and your vacuum will perform like new for years to come.