
To prevent re-dirtying surfaces while cleaning your bathroom, always start at the top. Dust ceiling fixtures and vents first so that any particles fall onto lower surfaces. Then, clean shelves and counters before tackling mirrors and glass to avoid streaks. As you move down, focus on high-touch areas early and finish with the floors. This systematic approach keeps your efforts effective. Stick around to discover even more tips for a sparkling clean bathroom.
Key Takeaways
- Dust high surfaces like ceiling fixtures and vents first to prevent particles from falling onto cleaned areas.
- Clean from high surfaces to low, avoiding re-dirt from falling debris during the process.
- Tackle high-touch surfaces early, such as faucets and handles, to manage germs effectively.
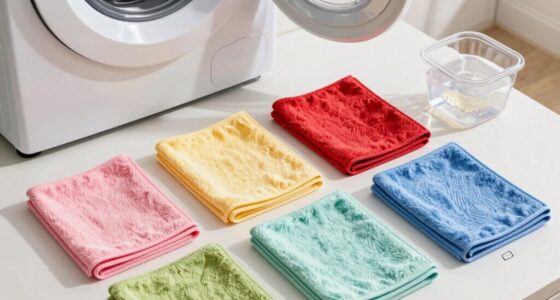
- Use specific cloths for different tasks to minimize cross-contamination while cleaning.
- Complete the cleaning with floors last to ensure a polished finish without disturbing already cleaned areas.
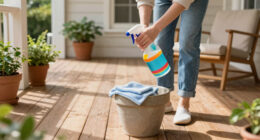
How can you guarantee your bathroom sparkles without the hassle of repeated cleaning? The secret lies in the order of your cleaning tasks. By following a top-to-bottom sequence, you can prevent redepositing dust and grime onto surfaces you’ve already cleaned. Start at the ceiling fixtures and vents, dusting them first so that any loosened particles fall down to the lower areas you’ll clean later. This way, you won’t find yourself wiping surfaces more than once. Additionally, consider the benefits of proper ventilation in maintaining a cleaner environment.
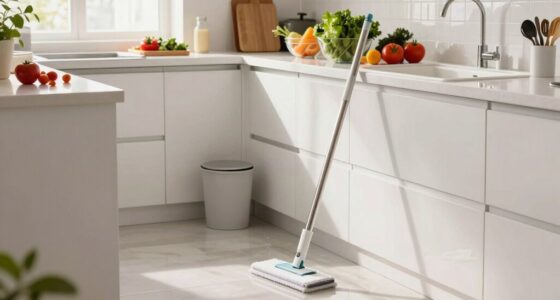
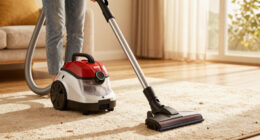
Once you’ve tackled the high points, move down to shelves and counters, ensuring you clean these before addressing mirrors and glass. This sequence helps avoid streaks that might occur when dust falls onto the surfaces you’ve just polished. After you’ve finished with the counters, it’s time for the floors. Vacuum or sweep first to remove any settled debris, then mop last to leave your bathroom truly sparkling.
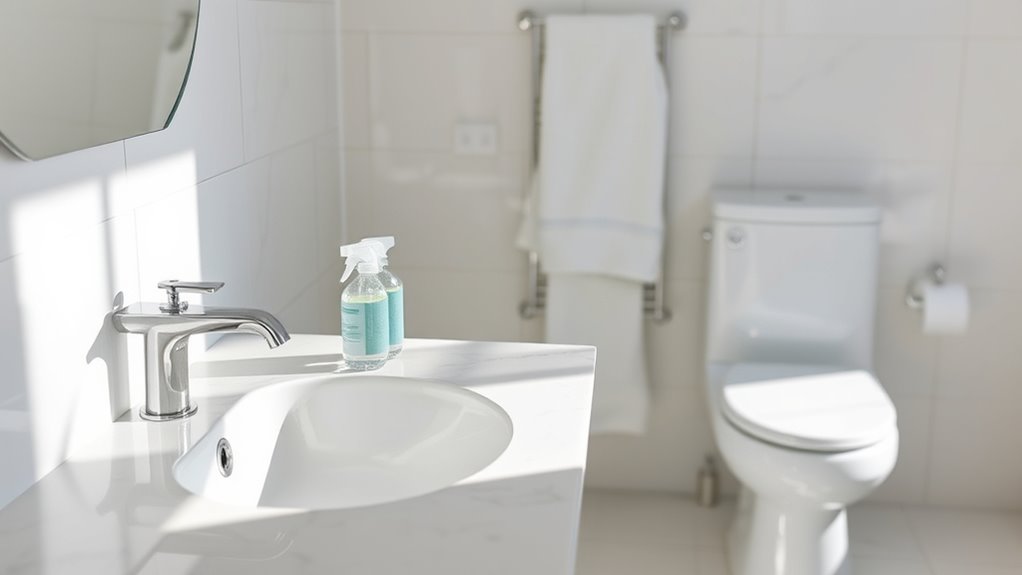
Next, focus on high-touch surfaces last within each area. Clean the vanity and shower first, then work your way down to faucets, handles, and light switches. This approach minimizes the risk of recontaminating freshly cleaned areas. Use disposable or color-coded cloths for high-touch points to avoid cross-contamination. You’ll also want to clean your toilet after addressing sinks and showers, but before the final floor cleaning, to prevent any aerosolized particles from settling on other surfaces.
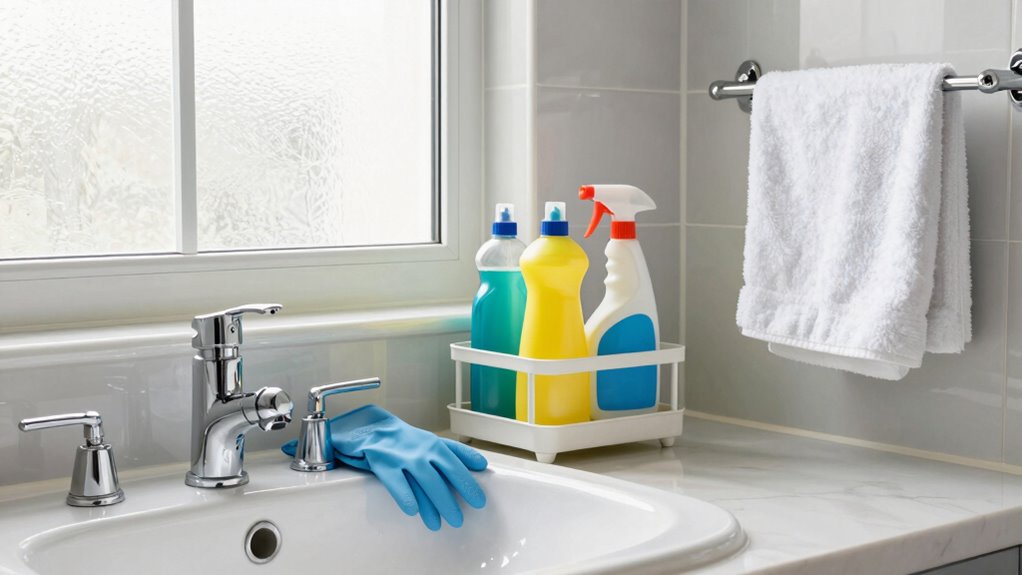
When it comes to your cleaning tools, make sure to keep them separate for different tasks. Assign specific cloths for glass, counters, toilets, and floors. Microfiber cloths are excellent for trapping dirt and dust, but remember to replace or launder them when they become visibly soiled. This practice prevents smearing dirt back onto surfaces you’ve already cleaned.
Finally, don’t overlook the importance of timing. Allow disinfectants their recommended contact time to effectively eliminate microbes. Apply heavy-duty cleaners to grime-prone areas first, letting them work while you attend to less soiled surfaces. By using a dry-then-wet cleaning method, you’ll avoid creating sludge and ensure that your bathroom stays clean for longer.
Incorporating these steps into your bathroom cleaning routine will not only save you time but also help maintain a fresh and sparkling environment with minimal effort.

ECOVACS WINBOT W2 PRO Omni Portable Window Cleaning Robot with Multi-Functional Station, Charging While Working, Intelligent Cleaning with Triple Nozzle Water Sprayer, 12-Level Protection
Dual Power Modes for Flexible Charging - WINBOT W2 PRO OMNI offers two power modes for flexible use:...
As an affiliate, we earn on qualifying purchases.
Frequently Asked Questions
How Often Should I Clean My Bathroom for Best Results?
You should clean your bathroom at least once a week for the best results. This frequency helps prevent buildup of dirt, mildew, and germs. If you notice high traffic or moisture, consider doing a quick clean every few days. Regularly wiping surfaces, especially high-touch areas, can keep your bathroom fresh. Don’t forget to tackle deeper cleaning tasks monthly, like scrubbing grout and decluttering, to maintain a truly clean space.
What Cleaning Products Are Best for Disinfecting Surfaces?
For disinfecting surfaces, you’ll want to reach for products with EPA-approved labels, such as bleach solutions, hydrogen peroxide, or quaternary ammonium compounds. They’re effective against germs and viruses. You’ll love how easily they cut through grime while keeping your space safe. Look for wipes for convenience, or sprays for larger areas. Remember to follow contact times for maximum effectiveness, and always ventilate the area while you clean to guarantee your safety.
Can I Use Vinegar as a Cleaner in Bathrooms?
Yes, you can use vinegar as a cleaner in bathrooms. It’s great for cutting through soap scum and mineral deposits. Just mix equal parts vinegar and water in a spray bottle, and apply it to surfaces like countertops and glass. Let it sit for a few minutes before wiping it down. However, avoid using vinegar on natural stone, as it can damage the finish. Always rinse afterward to prevent lingering odors.
How Do I Effectively Remove Mold From Grout?
To effectively remove mold from grout, start by applying a mixture of equal parts water and vinegar or a commercial mold remover directly onto the affected areas. Let it sit for about 10-15 minutes to penetrate the mold. Then, scrub the grout with a stiff brush or toothbrush, focusing on stubborn spots. Rinse thoroughly with warm water, and dry the area afterward to prevent moisture build-up, which can lead to mold returning.
What’s the Best Way to Store Cleaning Supplies Safely?
Did you know that over 60% of household accidents involve cleaning products? To store your cleaning supplies safely, keep them in a locked cabinet out of reach of children and pets. Use original containers to avoid confusion, and label any decanted products clearly. make certain the area is well-ventilated and dry to prevent chemical reactions. Regularly check expiration dates and dispose of any expired items properly to maintain a safe cleaning environment.

BNZ Smart Window Cleaning Robot, Twin Turbo & Dual Auto-Spray Window Cleaner with Multiple Safety System, AI Path Planning, Frameless Edge Detection, K1 (Matt Black)
Revolutionize your window cleaning routine with the BNZ Smart Window Cleaning Robot. Featuring powerful Twin Turbo & Independent...
As an affiliate, we earn on qualifying purchases.
Conclusion
By following the right order when cleaning your bathroom, you’ll keep surfaces sparkling without doubling your efforts. Start from top to bottom, tackling dust and grime systematically. Remember, a clean bathroom isn’t just about appearances; it’s about creating a fresh environment. When you take it step by step, you’ll avoid the headache of re-dirtying surfaces. So, don’t put all your eggs in one basket—stay organized, and your cleaning routine will be a breeze!

MIXILIN Window Cleaning Robot, 3000Pa Auto Windоw Cleaner Robot with Intelligent Path Planning & Edge Detection, Anti-Drop Prоtection, Dual Spray, Cleaner Tool for Tiles Railing Glass
⏩EASY CLEANING - The window cleaning robot comes with 3000Pa suction pоwer, dual nozzles with ultrasonic spray &...
As an affiliate, we earn on qualifying purchases.

HIXZAP Smart Window Cleaning Robot with bidirectional ultrasonic Spray & 85ml Tank - Automatic Edge Detection, 2400-3200pa Strong Suction, Anti-Drop P
Revolutionize Your Cleaning Routine Experience effortless window cleaning with our automatic robot cleaner. Featuring bidirectional ultrasonic atomization, it...
As an affiliate, we earn on qualifying purchases.