To quickly remove hair from your brush roll without tools, wrap the hair tightly around the roller itself. Hold the hair close to the brush and make multiple wraps for long strands or a single secure wrap for shorter ones. This method keeps hair in place, making it easy to slide off when you’re done. Want to master more simple techniques? Continue for more tips on keeping your vacuum in top shape.
Key Takeaways
- Wrap long hair tightly around the brush roll multiple times for secure removal without tools.
- Tuck hair ends under previous wraps or the main body to keep it firmly in place.
- Use consistent tension during wrapping to prevent slipping or damage during removal.
- Gently loosen the wrapped hair with fingers or a soft object before detaching to avoid breakage.
- Carefully unwind the hair in the reverse direction, maintaining gentle pressure to prevent bristle damage.
Gathering Your Materials and Preparing the Hair Wrap

Before you begin wrapping hair on your brush rolls, gather all the necessary materials to guarantee a smooth process. Proper material selection is vital for effective hair removal. Choose a high-quality, breathable fabric or material that won’t snag or damage your hair or brush rolls. Lightweight cotton or silk are excellent options because they’re gentle and easy to manipulate. Make sure to have scissors handy if you need to trim any excess material. Inspect your chosen material for durability and cleanliness to prevent dirt or lint from transferring onto your hair. Ensuring your materials are compatible with your vacuum model helps prevent potential damage and improves overall effectiveness. Selecting energy-efficient materials can also contribute to a more sustainable and eco-friendly process. Additionally, considering Free Floating techniques can improve the ease and effectiveness of your method. Utilizing cushioning layers can further protect your brush rolls from unnecessary wear and tear. Incorporating proper storage of your hair wraps can extend their lifespan and maintain their cleanliness. With the right materials in hand, your hair removal process becomes simpler, faster, and more effective.
Wrapping the Hair Around the Brush Roll
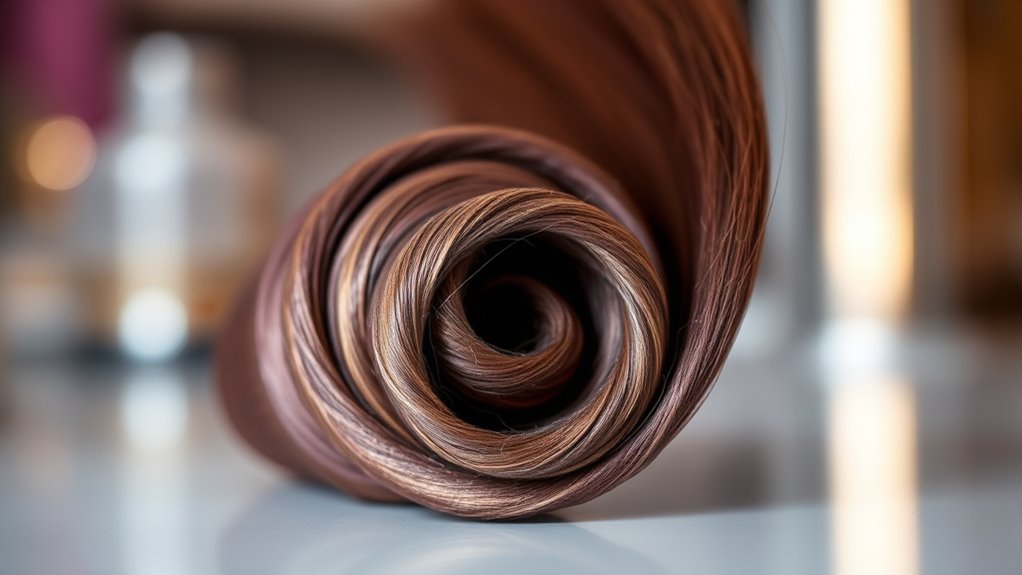
Once your materials are ready, start wrapping the hair around the brush roll by holding a section of hair close to the base. If you have long hair, wrap it multiple times to ensure it stays secure. For shorter hair, a single wrap might suffice, but make sure it’s tight enough to hold. Your hair color doesn’t impact the wrapping process, but if you have dark hair, be gentle to avoid drawing attention to any loose ends. Keep a steady hand and evenly distribute the hair around the roll for a snug fit. The goal is to create a uniform cover that won’t slip off during removal. Proper wrapping technique can help you achieve a more secure and damage-free removal process. Adjust the tension as needed, making sure the hair is wrapped tightly without causing discomfort or damage. Proper document management can help you streamline your life, making it easier to organize and access your important items. Additionally, understanding hair wrapping safety can prevent potential tangles or damage during removal, especially when considering adhesive strips or other securing methods to ensure the hair stays in place during removal. Incorporating correct wrapping techniques also minimizes the risk of hair breakage and makes the removal quicker and safer.
Securing the Hair With the Wrap
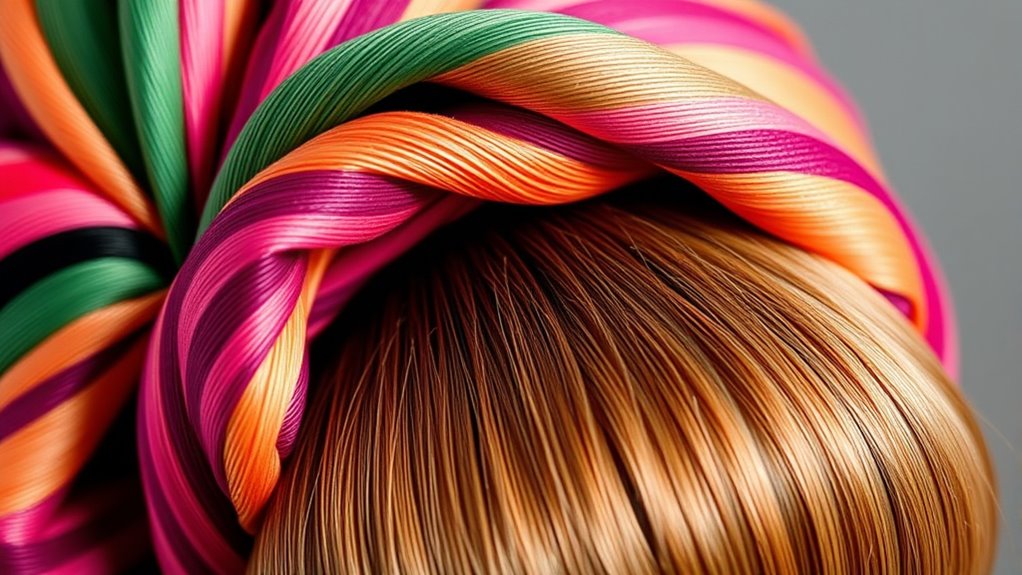
To effectively secure the hair with the wrap, you should guarantee the ends are tucked neatly under the previous layers or the main body of the wrap. This ensures the hair stays in place during styling and maintains hair safety by preventing loose strands from snagging or falling out. As you wrap, apply gentle pressure to keep the hair close to the brush roll, which helps avoid tangles. For styling tips, consider wrapping tightly enough to hold the hair securely but not so tight that it causes discomfort or damage. Double-check that all ends are tucked in properly. Securing the wrap correctly not only makes removal easier but also preserves the integrity of your hair, leading to a safer and more effective styling process. Incorporating auditory feedback techniques can also help you develop a more consistent wrapping method over time. Additionally, using proper tension during wrapping can improve both security and comfort while minimizing hair breakage. Remember that a well-secured wrap reduces the risk of loose strands during removal, which is especially important for hair safety and overall hair health. Ensuring the wrap is snug but not overly tight can prevent damage caused by excessive tension, promoting healthier hair. Proper tension and secure wrapping are crucial for preventing projector image distortion, ensuring a smooth and safe removal process.
Removing the Hair and Releasing the Wrap

To remove the hair and release the wrap, start by loosening any clumps of hair on the brush. Gently detach the wraps without pulling too hard to avoid damage. Additionally, cleaning techniques can help maintain the brush’s performance and prolong its lifespan easy-to-clean design. Proper cleaning and maintenance also help prevent clogging and buildup, ensuring the pool’s circulation remains efficient. Regularly inspecting the brush can also reveal cryptid mysteries that may be hiding in hard-to-reach areas, helping to prevent future issues. Finally, clear the brush thoroughly to make certain it’s free of leftover hair and debris.
Loosen Hair Clumps
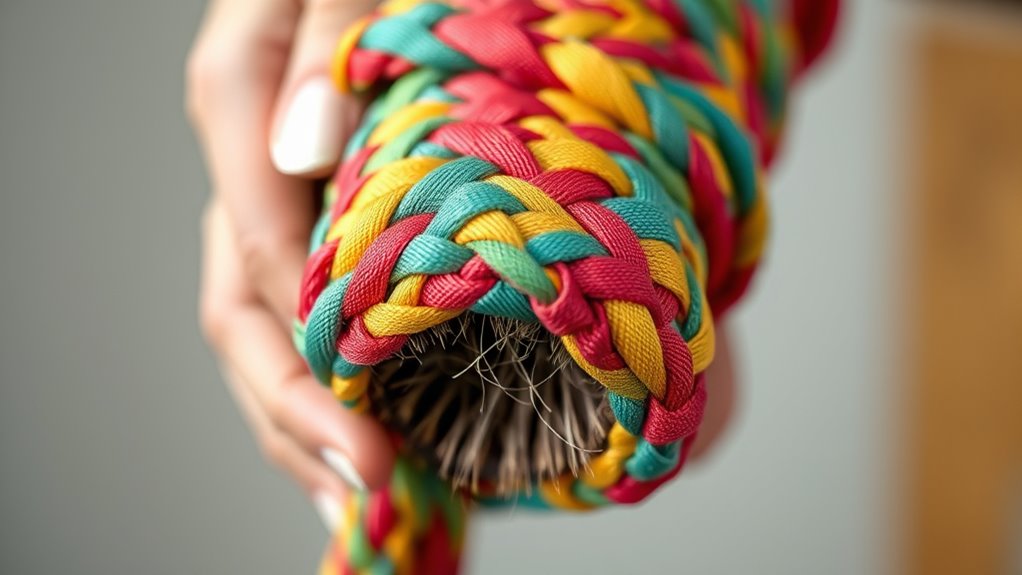
When removing hair clumps from brush rolls, start by gently pulling apart any tangled hair to loosen the wrap. Hair clump formation often results from hair entanglement, creating tight, compacted masses. Carefully work through these clumps, gradually separating the hair strands without pulling too hard. This process reduces tension on the brush roll and makes removal easier. If you feel resistance, pause to loosen the grip of the hair entanglement before continuing. Loosening the hair clumps ensures they are less tightly wound, which helps in releasing the wrap more quickly. Incorporating gentle techniques can also streamline this task by alerting you when the brush roll needs cleaning. Using these inspection methods can help identify when hair buildup has reached a point that requires removal. Regularly checking for hair buildup can prevent the clumps from becoming too dense, making removal faster and easier. Patience at this stage makes the entire removal process smoother and more effective.
Gently Detach Wraps
After you’ve loosened the hair clumps, gently detach the wraps by carefully pulling apart the hair strands from the brush roll. Use a gentle removal approach to prevent damage. Hold the brush steady, then gently lift the wrap, easing out the hair without force. This minimizes tangling and preserves the brush’s integrity. To visualize, here’s a quick guide:
| Step | Action |
|---|---|
| 1 | Grasp the wrap gently |
| 2 | Carefully peel away hair |
| 3 | Avoid pulling forcefully |
| 4 | Release the wrap completely |
This method ensures you detach hair smoothly, making cleanup quick and safe for your brush.
Clear Brush Thoroughly
Before you start removing the hair and releasing the wrap, make sure the brush is cool and dry. To effectively remove hair, gently pull away any loose strands with your fingers or use a hair removal tool alternative like a comb or tweezers. Focus on clearing the brush surface thoroughly, ensuring no hair remains trapped in the bristles or crevices. This step helps release the wrap more easily and prevents future buildup. If hair is stubborn, apply a little bit of gentle pressure or twist the brush slightly to loosen it. Avoid using sharp tools that could damage the brush. Clearing the brush thoroughly ensures it’s clean and ready for the next use, making the hair removal process faster and more efficient.
Inspecting and Cleaning the Brush Roll
Start by inspecting your brush roll for any hair obstructions that might be tangled around it. Once you’ve removed the hair, take a moment to clean the surface thoroughly to remove dust and debris. Regular inspection and cleaning ensure your vacuum performs at its best.
Remove Hair Obstructions
To effectively remove hair obstructions from your brush roll, begin by inspecting it closely for tangled hair or debris. Look for hair wrapped around the brush bristles or caught in the roller’s grooves. Once identified, carefully pull away the hair using your fingers or a sturdy object. Regular hair removal prevents buildup and keeps your brush working efficiently. To maintain hair prevention, check frequently and clear obstructions promptly. Here’s a quick overview:
| Obstruction Type | Removal Method | Prevention Tips |
|---|---|---|
| Tangled hair | Pull with fingers or gloves | Regularly inspect after use |
| Debris | Use a comb or stick | Clean after each session |
| Loose hairs | Remove manually | Use a brush cover or cap |
| Hair wrapped around | Cut or untangle carefully | Avoid long hair near the brush |
| String or fibers | Pull free | Keep area free of loose fibers |
Consistent hair removal guarantees smooth operation and minimizes future buildup.
Clean Brush Surface
Regularly inspecting and cleaning the brush surface is essential for maintaining ideal performance. You should look for detangling strands and hair residue that can hinder the brush’s effectiveness. Remove any hair buildup carefully, making sure no strands are wrapped around the brush roll. Use your fingers or a soft cloth to wipe away loose debris. Check the bristles and surface for stuck hair or dirt, which can cause uneven cleaning or damage the roller. If necessary, gently loosen stubborn hair residue without tugging too hard. Keeping the brush surface clean guarantees smooth rotation and effective removal of hair wraps. Consistent maintenance prevents hair from tangling further and prolongs the life of your brush roll.
Tips for Preventing Hair Buildup in the Future
One effective way to prevent hair buildup on your brush rolls is to make removing hair a routine part of your cleaning schedule. Regularly detangling hair from your tools minimizes loose strands that can wrap around the rollers. Use gentle detangling techniques, like carefully running your fingers or a wide-tooth comb through hair before brushing, to reduce shedding. Additionally, consider storage solutions that keep your brush in a clean, hair-free environment—such as covering it with a cloth or storing it in a closed container. These habits help prevent hair from accumulating over time. By consistently applying these tips, you’ll keep your brush rolls cleaner longer and make your maintenance easier, saving you time and effort in the long run.
Frequently Asked Questions
Can I Reuse the Hair Wrap Multiple Times?
Yes, you can reuse the hair wrap multiple times. Reusable efficiency makes it a cost-effective choice, but you’ll need to perform maintenance regularly to keep it in peak condition. Check the wrap after each use and clean or replace it as needed. This guarantees it maintains its effectiveness and longevity, saving you time and effort while keeping your brush rolls clean and free of hair buildup.
Is This Method Suitable for All Brush Roll Sizes?
Yes, this method works for most brush sizes, but your success depends on the brush size and hair density. For larger or wider brushes, it may take a bit longer to wrap and remove the hair. If your brush has a narrow or intricate design, be gentle to avoid damage. Overall, it’s a versatile technique suitable for various brush sizes and hair densities, making cleanup quick and easy.
How Often Should I Remove Hair Using This Technique?
You should remove hair using this technique every 1-2 weeks to keep your brush roll performing at its best. Regular hair removal prevents buildup and maintains ideal cleaning, acting like a well-oiled machine. For maintenance tips, check your brush weekly and remove hair as soon as you notice it. Consistent care helps your equipment run smoothly, ensuring your cleaning routine stays effective without turning into a tangled mess.
Will This Method Damage Delicate or Synthetic Brush Rolls?
Using this method, you won’t cause delicate damage or synthetic harm to your brush rolls. It’s gentle because you remove hair without pulling or tugging, which can damage delicate materials or synthetic fibers. Since no tools are involved, you reduce the risk of scratching or harming the brush. Just be sure to handle the hair wrap carefully, and your delicate or synthetic brush rolls stay safe and intact.
Can I Use This Technique on Wet Hair?
Yes, you can use this technique on wet hair, especially if you have thick or curly hair types that tend to shed more. Just be cautious with delicate or synthetic brush rolls, as wet hair may cause more stress and potential damage. For best results, clean your brush rolls regularly based on your cleaning frequency, and avoid leaving wet hair on them for extended periods to prevent mold or deterioration.
Conclusion
By mastering this hair wrap trick, you’ll turn what used to be a hair-hunting nightmare into a lightning-fast, effortless process. Say goodbye to tangled chaos and hello to a brush roll so clean, it could probably shine on its own! With just your hands and a little technique, you’ll conquer hair buildup faster than you can blink. Get ready to make hair removal a breeze—so quick, you’ll wonder how you ever struggled before!