
To improve your vacuum’s performance, first turn it off and unplug it, then locate and carefully remove the sensors and wheels. Use a soft cloth, microfiber towels, and gentle cleaning solutions to wipe the sensors clean, ensuring no dust or smudges block them. Next, clear debris from the wheels and axles, applying light lubrication if necessary. Properly reassemble your vacuum and test its navigation—continue exploring to learn all the tips for best maintenance.
Key Takeaways
- Power down the vacuum completely and unplug it before cleaning sensors or wheels to prevent damage.
- Gently remove sensors and wheels, then clean sensor surfaces with microfiber cloths and soft brushes to remove dust and debris.
- Use compressed air or tweezers to dislodge stubborn dirt or hair around wheels and sensors carefully.
- Apply a light lubricant to wheel axles for smooth rotation and check sensor alignment for accurate calibration.
- Reassemble all parts securely, then run a test in cluttered areas to ensure obstacle detection and navigation improve.
Gathering Supplies and Preparing Your Workspace

Before you begin cleaning your vacuum sensors and wheels, it’s essential to gather all the necessary supplies and set up a clean, organized workspace. Start by locating your vacuum’s charging station, so you can easily connect it after cleaning. Make sure to have a soft cloth, microfiber towels, and gentle cleaning solutions ready to avoid damaging sensitive sensors. Check if your vacuum needs a filter replacement; doing this beforehand guarantees peak performance once you’re done. Keep small tools like brushes or toothpicks nearby to clean tight spots on sensors and wheels. Clearing your workspace helps prevent losing tiny parts and keeps your cleaning process efficient. Additionally, understanding the importance of Free Floating components can help you handle your vacuum more carefully during maintenance. Being aware of the European cloud innovation behind your device can also encourage more sustainable handling practices. Recognizing sensor placement can guide you in cleaning more effectively, avoiding damage to delicate parts. Once everything is in place, you’ll be ready to carefully maintain your vacuum’s sensors and wheels, ensuring smooth operation.
Turning Off and Unplugging Your Vacuum
Once you’ve gathered your supplies and prepared your workspace, the next step is to turn off and unplug your vacuum. This step is vital for safe battery maintenance and to prevent any electrical mishaps. Make sure the vacuum is completely powered down to avoid accidental activation during cleaning. If your vacuum has a rechargeable battery, detach it if possible, following the manufacturer’s instructions. Unplug the device from the power source to guarantee no current is flowing. Turning off also allows you to perform necessary software updates, which often require the device to be disconnected from power. Taking these precautions helps protect both you and your vacuum’s electronics, safeguarding a safe cleaning process and maintaining peak performance. Additionally, ensuring the device is fully powered down can help preserve the integrity of sensitive components like vacuum sensors and wheels. Properly turning off your vacuum also prevents potential damage to internal electronic components, ensuring longevity and consistent operation. Being mindful of electronic component protection is essential for the long-term durability of your vacuum. Performing a thorough shutdown can also help prevent buildup of dust and debris that might interfere with sensor accuracy.
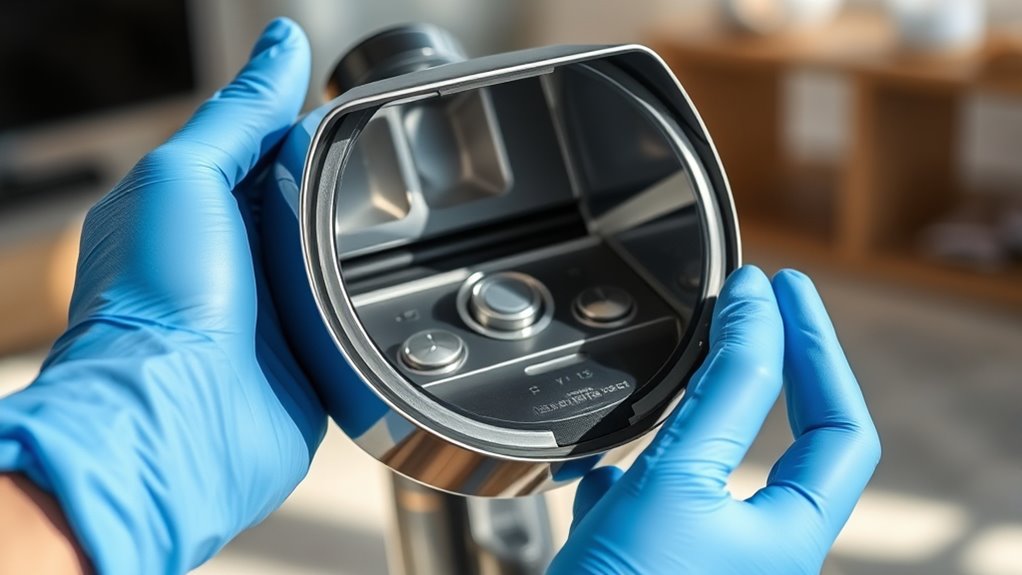
Accessing and Removing the Sensors and Wheels

To access and remove the sensors and wheels, start by locating the designated access points on your vacuum, which are often secured with screws or clips. Carefully detach these panels to reveal the sensors and wheels. When removing the sensors, handle them gently to avoid affecting sensor calibration, which is vital for accurate navigation. For the wheels, check if they need lubrication to spin freely. Use the following table for guidance:
| Component | Removal Tip | Maintenance Tip |
|---|---|---|
| Sensors | Gently disconnect wiring | Clean with a soft cloth |
| Wheels | Remove screws or clips | Apply wheel lubrication if stiff |
| Access Points | Keep track of screws and clips | Reassemble securely |
This guarantees proper cleaning and reinstallation, maintaining ideal vacuum performance. Additionally, understanding how sensor calibration impacts navigation helps ensure your vacuum functions efficiently after maintenance.
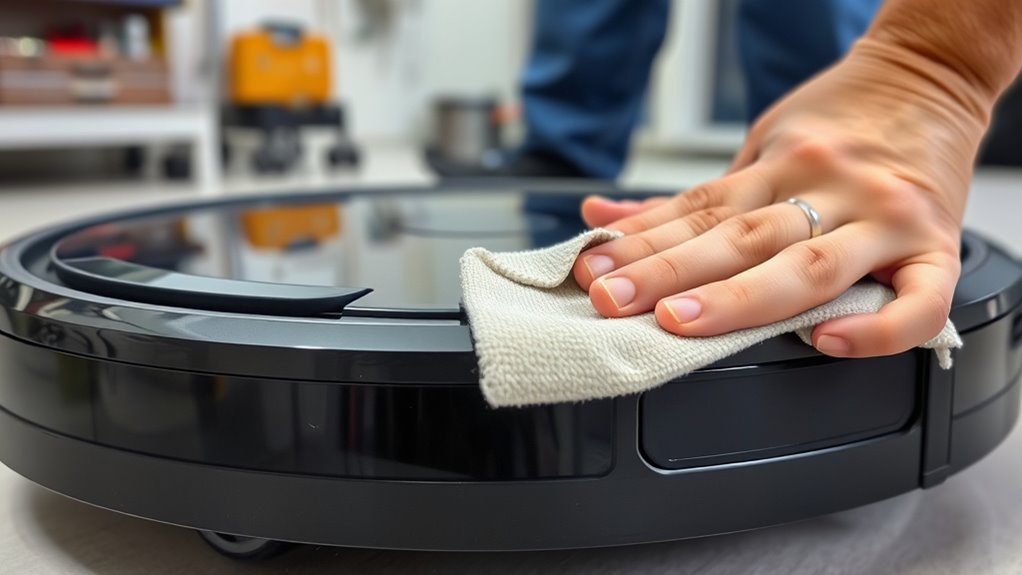
Cleaning the Sensors for Optimal Performance
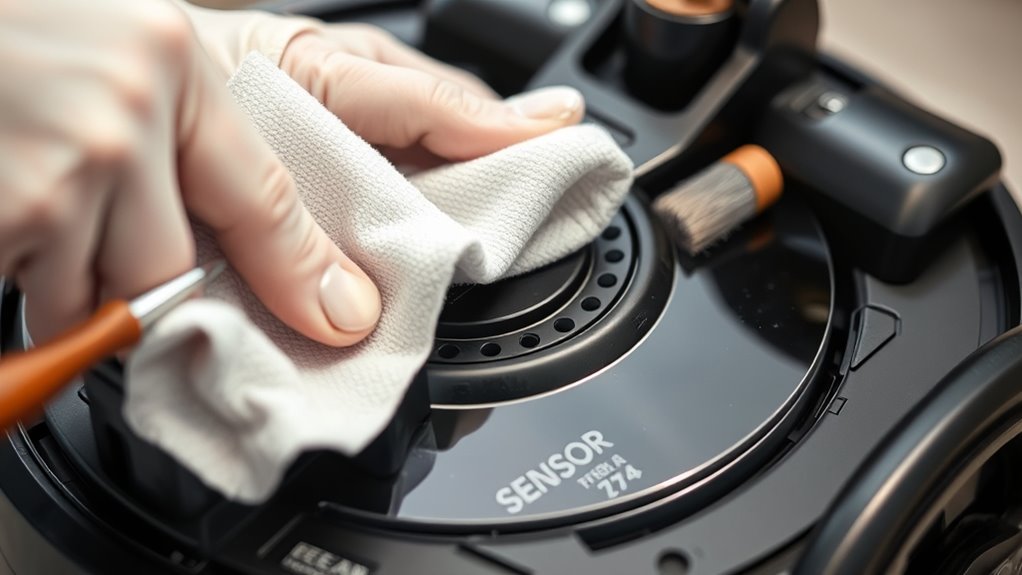
To keep your sensors working effectively, you need to guarantee their surfaces are clear of dust and debris. Check that the sensors are properly aligned to maintain accurate navigation. Use the right cleaning tools, like soft cloths and gentle brushes, to avoid damaging sensitive components. Regularly inspecting for sensor calibration issues can help prevent misreads and ensure consistent performance. Additionally, maintaining proper battery and charging routines can help prevent electronic issues that might affect sensor operation. Being aware of software updates can also improve sensor functionality and fix known bugs that may cause malfunctions. Incorporating connected device maintenance practices helps ensure your smart home gym equipment remains reliable and responsive. Regular cleaning and proper maintenance of sensors are crucial for device longevity and optimal functioning.
Sensor Surface Clarity
Have you noticed your vacuum’s sensors misreading obstacles or missing dirt spots? Dirt and smudges can obscure the sensor surface, reducing clarity and performance. To ensure your vacuum detects everything accurately, focus on clarity enhancement by cleaning the sensor surface regularly. Use a soft cloth or microfiber towel with a gentle cleaner to wipe away dust, fingerprints, and grime. Avoid harsh chemicals that could damage the sensor. For a visual guide, see the table below:
| Step | Tools Needed | Tips |
|---|---|---|
| Power off vacuum | Soft cloth, cleaner | Turn off before cleaning |
| Wipe sensor surface | Microfiber cloth | Use gentle strokes |
| Inspect for residue | Bright light | Ensure no smudges remain |
| Repeat if necessary | Cleaning solution | For stubborn dirt |
| Dry thoroughly | Dry cloth | Prevent moisture buildup |
Regularly cleaning the sensor surface is crucial for maintaining its accuracy, especially since dirt buildup can impair its ability to detect obstacles effectively. Keeping the sensors clean and clear is essential for optimal vacuum performance, preventing it from acting ‘dumb’ or inefficient. Additionally, following a consistent cleaning routine helps preserve the sensor’s functionality over time. Implementing a regular maintenance schedule can greatly extend the lifespan of your vacuum’s sensors. Maintaining a clean sensor surface not only boosts accuracy but also helps in preventing potential malfunctions.
Sensor Alignment Checks
Even if your vacuum’s sensors are clean, their alignment can still affect performance. Proper sensor calibration ensures that the sensors accurately detect obstacles and navigate efficiently. To check the alignment, power off your vacuum and carefully inspect the sensors’ position relative to their mounts. Look for any signs of misalignment or displacement. If needed, make precise alignment adjustments by gently repositioning the sensors or tightening their mounts. Some models may have calibration procedures in the user manual, so follow those instructions if available. Correct alignment helps your vacuum interpret its environment correctly, preventing unnecessary collisions or missed spots. Regularly verifying and adjusting sensor alignment ensures your device operates smoothly and maintains optimal cleaning performance. Additionally, understanding sensor calibration can help troubleshoot persistent issues and improve the longevity of your vacuum. Incorporating local automation techniques can further enhance your vacuum’s adaptability and responsiveness in your smart home setup.
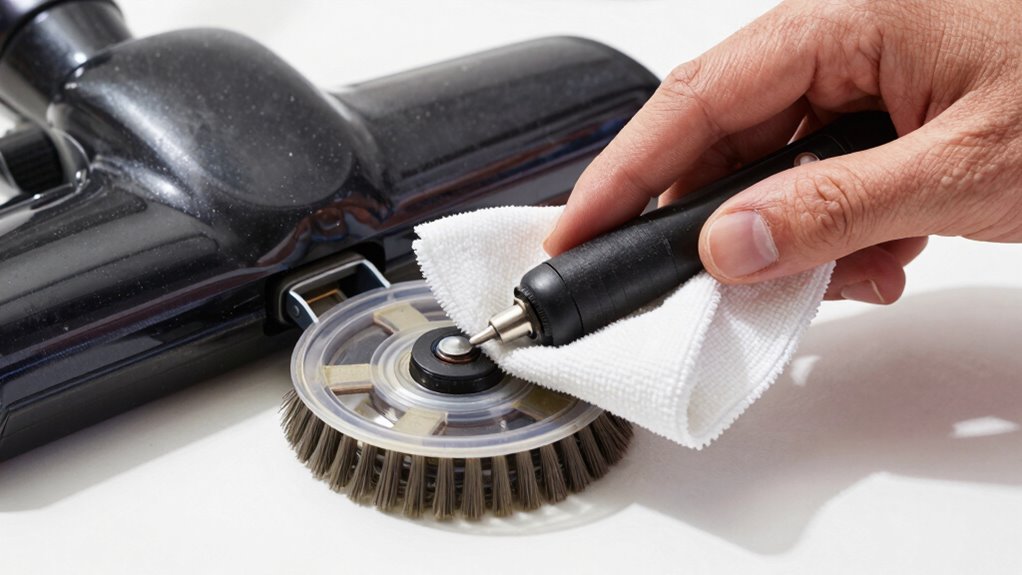
Use Proper Cleaning Tools
Using the right cleaning tools is essential for maintaining your vacuum’s sensors at peak performance. Proper tools help remove dust accumulation that can interfere with sensor calibration, causing your vacuum to act ‘dumb’. Use a soft microfiber cloth or a gentle brush to avoid scratches or damage. Compressed air can dislodge dust from hard-to-reach areas without risking harm to delicate components. Avoid using harsh chemicals or abrasive materials that could degrade sensor surfaces. Consistent cleaning with appropriate tools ensures sensors stay clear, improving their accuracy and responsiveness. Well-maintained sensors reduce the chances of calibration errors and help your vacuum navigate smoothly. Investing in proper cleaning tools makes it easier to keep sensors clean and functioning at their best, extending your vacuum’s lifespan and performance.
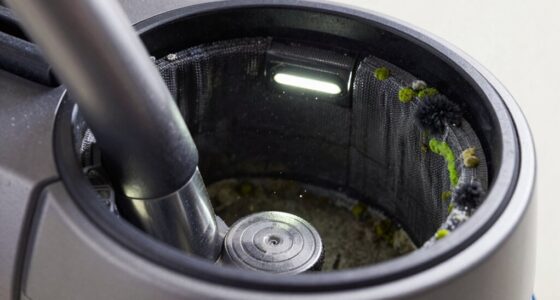
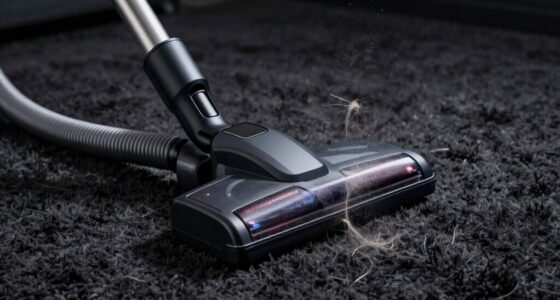
Clearing Debris From the Wheels and Axles
Start by removing any loose debris from the wheels and axles to keep your vacuum running smoothly. Use appropriate tools like a brush or compressed air to dislodge stubborn dirt. This simple step helps prevent clogs and guarantees peak performance.
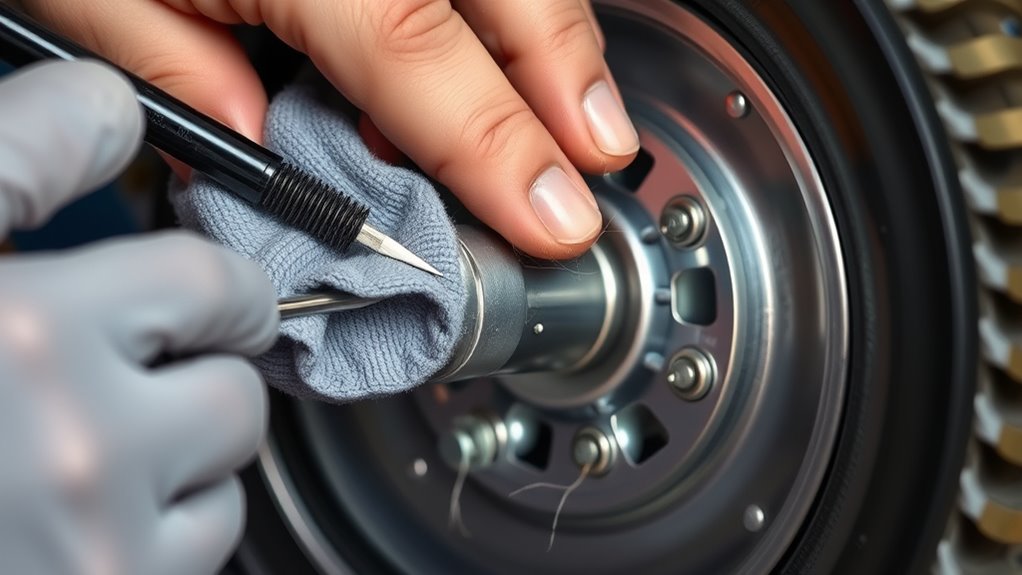
Remove Loose Debris
Have you noticed debris buildup on your vacuum’s wheels and axles? This debris accumulation can interfere with sensor calibration, causing your vacuum to act “dumb.” To keep it running smoothly, remove loose debris carefully. Use a soft brush or cloth to sweep away dirt and dust. Check for tangled fibers or hair around the wheels. Gently dislodge stuck debris with tweezers or a toothpick. Wipe the axles and wheels with a damp cloth to clear stubborn dirt. Regularly inspecting and maintaining vacuum sensors helps ensure your device navigates accurately and functions properly. Removing loose debris helps maintain proper sensor calibration and ensures your vacuum navigates accurately. Regularly clearing debris prevents buildup that could impair sensor function, keeping your device in top shape and functioning intelligently. Additionally, ensuring your vacuum is properly installed can help prevent operational issues caused by installation errors.
Use Appropriate Tools
To effectively clear debris from your vacuum’s wheels and axles, selecting the right tools is essential. Use small brushes, microfiber cloths, and toothpicks to gently remove dirt and hair, preventing interference with sensor calibration. A precision screwdriver helps you access tight spots. To keep wheels moving smoothly, apply a light layer of wheel lubrication. Here’s a quick visualization:
| Tool | Purpose |
|---|---|
| Small brush | Dislodge debris from axles and wheels |
| Microfiber cloth | Wipe away dust and grime |
| Toothpick | Remove stubborn debris stuck in crevices |
| Precision screwdriver | Open compartments for cleaning |
| Lubricant | Ensure smooth wheel rotation |
Regular cleaning of these components can help maintain your vacuum’s sensor performance, ensuring it functions accurately and efficiently. Using these tools ensures your vacuum stays responsive and maintains ideal sensor calibration.
Reassembling and Testing Your Vacuum for Improved Navigation
Once you’ve cleaned the sensors and wheels, reassembling your vacuum carefully is essential to guarantee it functions correctly. Proper assembly ensures your device’s sensor calibration is accurate, which directly impacts its navigation algorithms. Before testing, double-check that all components are securely in place and aligned properly. To improve navigation, consider updating firmware or resetting the device to optimize its algorithms. When testing, observe how it navigates around obstacles and adjusts its path. Make adjustments if necessary, such as repositioning sensors or recalibrating. Keep these key steps in mind: — Verify all parts are securely reassembled — Perform sensor calibration for better accuracy — Test navigation in a cluttered area — Adjust settings based on performance feedback — Understanding sensor placement can significantly enhance your vacuum’s ability to navigate efficiently.
Frequently Asked Questions
How Often Should I Clean My Vacuum Sensors and Wheels?
You should clean your vacuum sensors and wheels every 1-2 months to maintain peak performance. Regular cleaning helps with sensor calibration and ensures accurate navigation, while checking wheel alignment prevents unnecessary wear. If your vacuum starts acting ‘dumb’ or misses spots, it’s a sign to clean and inspect these parts. Consistent maintenance keeps your device running smoothly and extends its lifespan.
Can I Use Household Cleaning Products on Sensors and Wheels?
You shouldn’t use household cleaning products on sensors and wheels, as they can damage delicate parts and disrupt sensor calibration. Instead, opt for a soft cloth or a brush to gently remove dust. For wheels, light lubrication helps guarantee smooth movement. Avoid harsh chemicals, and always follow the manufacturer’s instructions to keep your vacuum functioning at its best without risking sensor or wheel issues.
What Signs Indicate My Sensors or Wheels Need Cleaning?
Just like a car needs realignment after hitting a pothole, your vacuum’s sensors or wheels show signs when they need cleaning. If your vacuum’s navigation feels off, sensors may require calibration, or wheels might be misaligned. You’ll notice missed spots, repeated cleaning paths, or inconsistent movement. These clues signal it’s time to check and clean your sensors and wheels to keep your device running smoothly and efficiently.
Are There Any Risks of Damaging Sensors During Cleaning?
Yes, there are risks of damaging sensors during cleaning. You should avoid rough scrubbing that could disrupt sensor calibration and make sure you don’t use excessive moisture, which might harm sensitive components. When cleaning wheels, apply proper wheel lubrication to prevent wear. Use gentle tools and follow manufacturer instructions to keep sensors and wheels functioning correctly without risking damage or calibration issues that could impair your vacuum’s performance.
How Do I Prevent Debris Buildup in the Future?
Prevent debris buildup by practicing proper filter maintenance and brush care regularly. Make sure to clear out clogs, change filters when dirty, and inspect brushes for tangled hair or dirt. Keep your vacuum’s pathways pristine and perform routine checks to avoid future frustrations. Consistent cleaning keeps sensors savvy, wheels working wisely, and your vacuum functioning flawlessly. Stay diligent with these maintenance measures to maintain maximum performance and minimize messes.
Conclusion
With your vacuum now shining like new, it’s ready to glide smoothly across your floors. Regular cleaning keeps those sensors sharp and wheels rolling, so your device won’t get lost in the shuffle anymore. Think of it as giving your vacuum a fresh pair of eyes and sturdy legs—ready to conquer dirt and debris with renewed confidence. Keep up with these simple steps, and your vacuum will navigate your home like a trusty compass, always finding its way.